


Hat Patch University
Small Batch Hat Makers: Apply PVC Patches to Hats Without Guesswork

Heat-pressing is the fastest, most reliable way to apply PVC patches to hats when the backing is heat-activated. Sewing wins when you need permanent reinforcement or the fabric can’t take heat. Either way, the step that separates a lasting bond from a lifted edge is patience: let the patch cool fully before you touch it.
TL;DR:
- Using a heat press with a lower platen is essential to evenly transfer heat through thick hat crowns, especially at 270 to 300°F for 10 to 30 seconds.
- Patience in cooling for at least 30 seconds before peeling ensures the adhesive fully sets and prevents patches from lifting at the edges.
- Sewing is recommended over heat-pressing when the hat fabric cannot withstand heat, the patch needs maximum durability, or reinforcement is necessary.
- Pressure-sensitive and Velcro patches offer swapability but are less reliable than heat-pressed or sewn options for durable, heavy wear on fabric hats.
- Always test settings on a scrap hat with an infrared thermometer, and avoid high heat or long press times to prevent scorching and poor adhesion.
Table of Contents
- How Do You Heat-Press PVC Patches Onto Hats?
- When Should You Sew a PVC Patch Instead of Heat-Pressing It?
- Are Peel-and-Stick or Velcro Patches Worth Using?
- What Tools and Settings Do You Need to Get Started?
- Why Do Patches Lift, Scorch, or Fail to Bond?
- Which Hat Patch Supply Products Match These Methods?
- What Should You Prioritize When You’re Just Starting Out?
- Ready to Test Your First Patch?
- Sources
How Do You Heat-Press PVC Patches Onto Hats?
Before you plug in anything, check the patch backing. If it’s heat-activated adhesive, you’re pressing. If it’s sew-only or pressure-sensitive, skip ahead to those methods instead of forcing heat onto a backing that isn’t designed for it.
Wipe the hat’s crown with isopropyl alcohol and let it dry completely. Any oil or moisture on the fabric weakens the bond before you even start. Pre-heat both the hat and your lower platen if your press has one. Vendor guides consistently recommend a hat press or a heat press with a heated upper and lower platen for this exact reason. The bottom heat compensates for the crown’s thickness, which a top-only press can’t do on its own, according to Transfer Express’s application guidance.
Here’s the sequence that works:
- Position the patch on the crown and secure it with heat-resistant tape so it can’t shift during pressing.
- Slide a foam pad or curved platen support underneath to match the hat’s shape.
- Cover the patch with a Teflon sheet or silicone pad to protect the material and your platen.
- Press using your patch maker’s recommended settings, adjusting for your specific equipment.
Safe starting range: Most hat-press setups do well starting around 270 to 300°F for 10 to 30 seconds, though Monterey Company’s testing notes exact numbers vary by patch maker and machine. Always test on a scrap hat first.
Once the timer stops, don’t touch it. Let the hat cool for at least 30 seconds before peeling off the tape. Cooling lets the adhesive solidify, and pulling tape too early is one of the most common reasons a patch lifts at the edges. Check adhesion once it’s cool. If any corner feels loose, re-press it or add a few reinforcing stitches.
When Should You Sew a PVC Patch Instead of Heat-Pressing It?
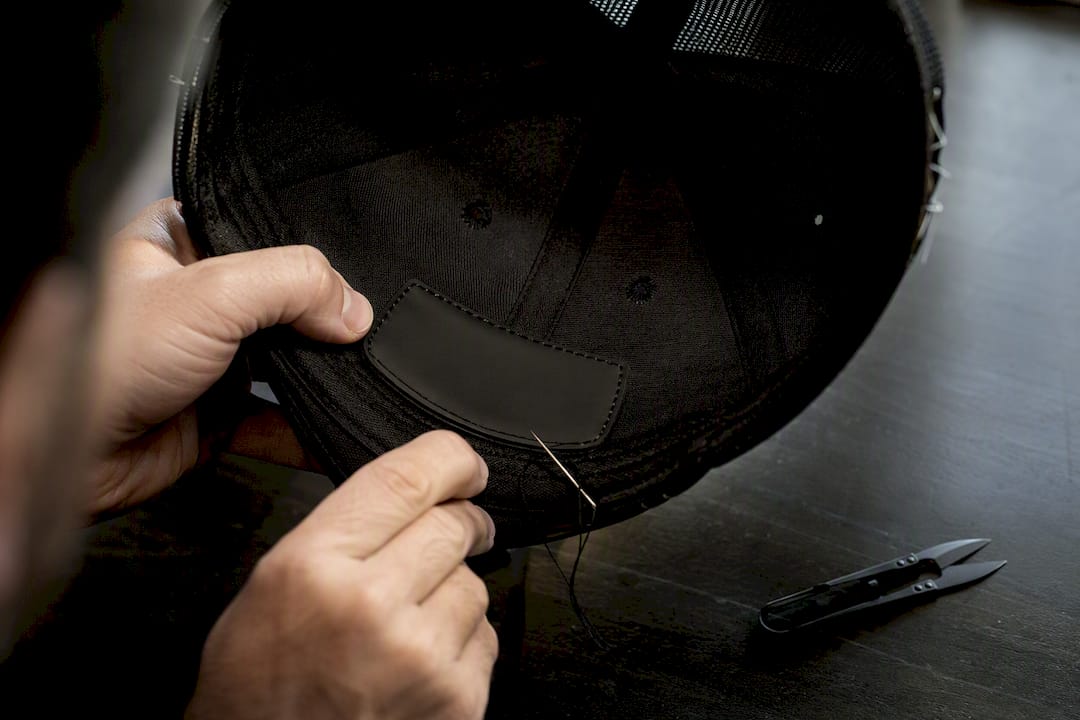
Sewing makes sense in three situations: the hat fabric can’t handle heat, you want maximum durability for a hat that’ll see heavy wear, or the backing itself (Velcro, unreliable adhesive) needs backup. It’s also common as a corrective step, adding stitches around a patch that’s already heat-pressed but showing edge lift, a practice Sinowell Crafts and Gifts points to as standard reinforcement.
Gather these before you start:
- A heavy-duty or curved needle, sized for thick PVC and hat fabric.
- Polyester or nylon thread, strong enough to resist UV breakdown and repeated washing.
- A thimble, because pushing a needle through PVC and a stiff crown takes real force.
- The patch’s sew channel or edge groove, which most PVC patches include to guide your stitching.
Follow the groove around the patch’s perimeter, keeping stitches evenly spaced and snug against the edge. On curved panels, work in short sections and pull thread gently rather than yanking, which prevents puckering in the fabric underneath. Finish with a secure knot on the underside of the crown, hidden from view.
Pro Tip: If you’re sewing on a structured cap, work from the inside of the crown outward in small sections. It gives you better control over tension on curved surfaces than trying to sew the whole perimeter in one continuous pull.
Are Peel-and-Stick or Velcro Patches Worth Using?
Pressure-sensitive and Velcro backings solve a different problem: swapability, not permanence. They’re worth knowing, but they come with real trade-offs on fabric hats.
- Pressure-sensitive patches need a clean, dry surface, firm press-on application, and roughly 24 hours to cure for the strongest hold. They work better on hard goods than on flexible ballcap fabric.
- Velcro systems require the loop side sewn or adhered securely to the hat first, then the hook side aligned on the patch. This setup lets customers swap patches on and off, a real selling point for interchangeable designs.
- Both options underperform heat-press and sewn attachments on flexible fabric under regular wear, and neither holds up well on oily or silicone-finished materials.
If a customer wants a permanent, wear-resistant hat, steer them toward heat-press or sewing instead.
What Tools and Settings Do You Need to Get Started?
Most first-attempt failures trace back to missing one piece of equipment, not bad technique. Build a kit before your first production run, not after your third scorched hat.
Core toolkit:
- Hat press or heat press with a lower platen
- Foam pad or curved support
- Heat-resistant tape
- Teflon sheet or silicone cover
- Infrared thermometer for spot-checking platen temperature
- Basic sewing kit for reinforcement stitches
These ranges are starting points, not fixed rules. Every patch maker specs their adhesive differently, so Monterey Company’s guide and your specific vendor’s instructions should override any general number here. Always run a test on a scrap hat, and pre-heat thicker crown areas a few extra seconds since they absorb heat more slowly than thin panels.
Why Do Patches Lift, Scorch, or Fail to Bond?
Most failures come down to three fixable causes: uneven pressure, wrong temperature for the equipment, or skipping the cooldown. Reviewers on sites like Trustpilot commonly report scorched caps or weak bonds tracing back to top-only heat or inconsistent pressure distribution.
If an edge lifts after cooling, re-press it with a lower platen if your equipment has one, or add two or three reinforcing stitches at the loose spot rather than redoing the whole patch. Scorching usually means the temperature was too high or the press time too long for that particular hat material. Drop the temperature, shorten the time, and always keep a Teflon sheet between the patch and your platen.
For care after application, wash gently and skip high-heat dryers, which can soften adhesive over time. Check patch edges every few months. If you spot lifting early, a quick stitch fix beats a full replacement.
- Uneven pressure → switch to a dual-platen press or add a firmer foam backer.
- Scorch marks → lower temperature, shorten time, add a protective cover sheet.
- Recurring edge lift → reinforce with stitching through the existing sew channel.
Pro Tip: Keep a simple log of the settings you use on each hat style. Crown thickness varies by brand, and what works on one structured cap won’t always transfer directly to a soft mesh trucker hat.
Which Hat Patch Supply Products Match These Methods?
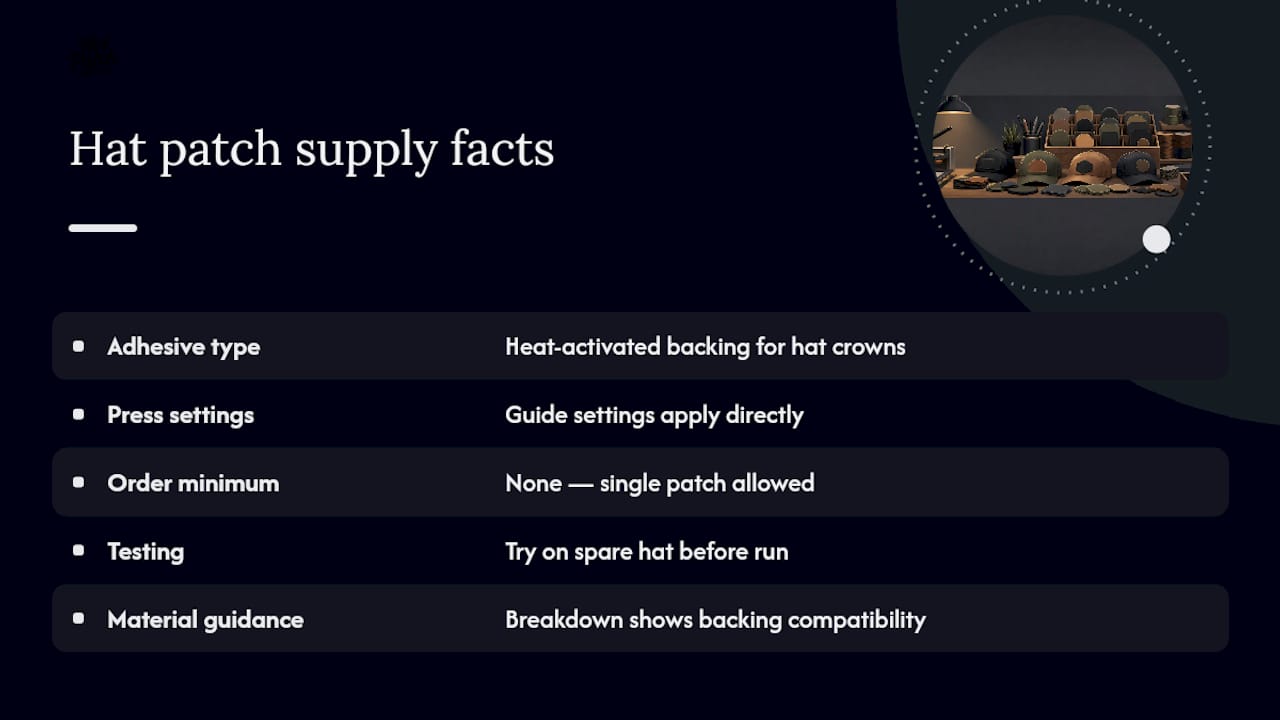
Hat Patch Supply builds its patches specifically for the methods above, which is why they don’t ask you to guess at settings. The UV-printed patches and tri-layer acrylic patches both come with heat-activated adhesive backing built for hat crowns, not flat garments, so the press settings in this guide apply directly.
No minimum order requirement means you can test a single patch on a spare hat before committing to a production run, exactly the kind of scrap-hat testing vendor guides recommend. For readers deciding between adhesive types, the breakdown of heat-activated adhesive options covers which backing suits which hat material before you ever heat up a press.
What Should You Prioritize When You’re Just Starting Out?
If you’re making your first run of patched hats, test on a sample before you commit to a batch. A hat press earns its cost quickly once volume climbs past a handful of hats a month, but hand tools work fine below that. The two steps that matter most, regardless of scale, are using heat-resistant tape to stop shifting and giving every patch a full cool-down before you check it. Skip either one and you’ll be re-pressing hats you thought were finished.
— David
Ready to Test Your First Patch?
Reading the steps is one thing. Running your first patch through a press is where you actually learn your equipment’s quirks. Hat Patch Supply’s tri-layer acrylic patches and UV-printed designs both ship with heat-activated backing built for hat crowns, so the settings in this guide apply without modification, and there’s no minimum order standing between you and a test run.

Order one or two sample patches before committing to a full batch. Test your press’s actual temperature with an infrared thermometer, run one hat through at the vendor-recommended settings, and check adhesion after it cools. If it holds, you’ve validated your setup for the whole production run. Browse Hat Patch Supply’s patch collection to pick a style and start testing today.
Sources
- PVC Patches | Custom Emblems and Patches | Transfer Express
- How to attach a PVC patch? - Sinowell Crafts and Gifts
Recommended
Ready to press your own?
Custom UV patches with no minimum, shipped in 72 hours — or grab a free-shipping sample pack first.