


Hat Patch University
Embroidered Patch Guide: From First Sketch to Finished Hat

An embroidered patch is a piece of fabric or backing material covered in stitched thread that forms a logo, name, or design, and it’s the most durable way to brand hats, jackets, and bags. If you’re starting from scratch, three decisions come first: pick your patch type (embroidered versus a printed or leatherette alternative), choose a backing method, and set your artwork at the exact final size before anyone touches a digitizing program.
Before you contact a manufacturer or thread a needle yourself, work through this short checklist:
- Decide type and finish: full embroidery, 3D puff, or a hybrid with printed detail.
- Choose backing: sew-on, iron-on, adhesive, or Velcro.
- Prepare artwork: vector file or high-resolution PNG sized to the finished patch dimensions.
- Simplify your design to bold shapes and legible type.
- Pick thread colors from a standard chart, not a screen-color guess.
- Request a proof or physical sample before committing to a production run.
Key Takeaways
Clean stitch-ready artwork, the right stabilizer, and a physical sample before bulk production are what separate a patch that lasts from one that unravels after three washes.
| Point | Details |
|---|---|
| Test artwork at final size | Print your design at actual size before digitizing to catch thin lines and small text problems. |
| Match edge to design complexity | Use laser-cut edges for intricate shapes; save merrowed borders for simpler outlines. |
| Choose stabilizer deliberately | Heavier cut-away stabilizer prevents distortion on high-stitch-count designs. |
| Always approve a physical sample | Check color match, edge finish, and the underside for loose jumps before a full run. |
| Inspect after the first wash | Catching lifted edges early takes seconds; waiting means resewing the whole border. |
Table of Contents
- What Types of Embroidered Patches Are There?
- How Do You Design Artwork for an Embroidered Patch?
- How Are Embroidered Patches Actually Made?
- What Should You Know Before Placing an Order?
- How Do You Attach and Care for Embroidered Patches?
- Can You Make an Embroidered Patch at Home?
- Frequently Asked Questions
- Sources
What Types of Embroidered Patches Are There?
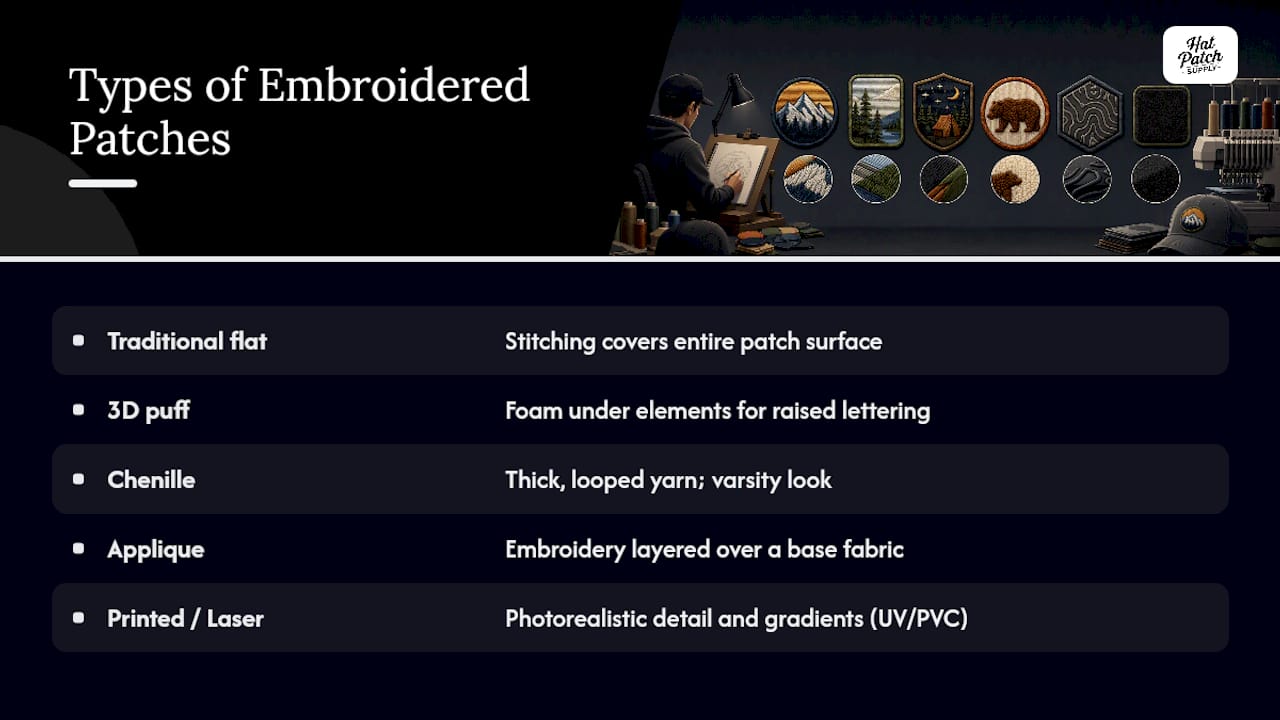
Embroidered patches come in more varieties than most first-time buyers expect, and picking the wrong one is the most common early mistake we see. Traditional flat embroidery covers the entire patch surface in stitching. 3D puff embroidery adds foam underneath key elements for raised, sculptural lettering. Chenille uses thick, looped yarn for a varsity-jacket look, and applique layers embroidery over a base fabric to reduce stitch count on large areas. There’s also a real difference between embroidered patches and printed or laser-engraved alternatives: UV printing and PVC handle photorealistic detail and gradients that thread simply can’t replicate.
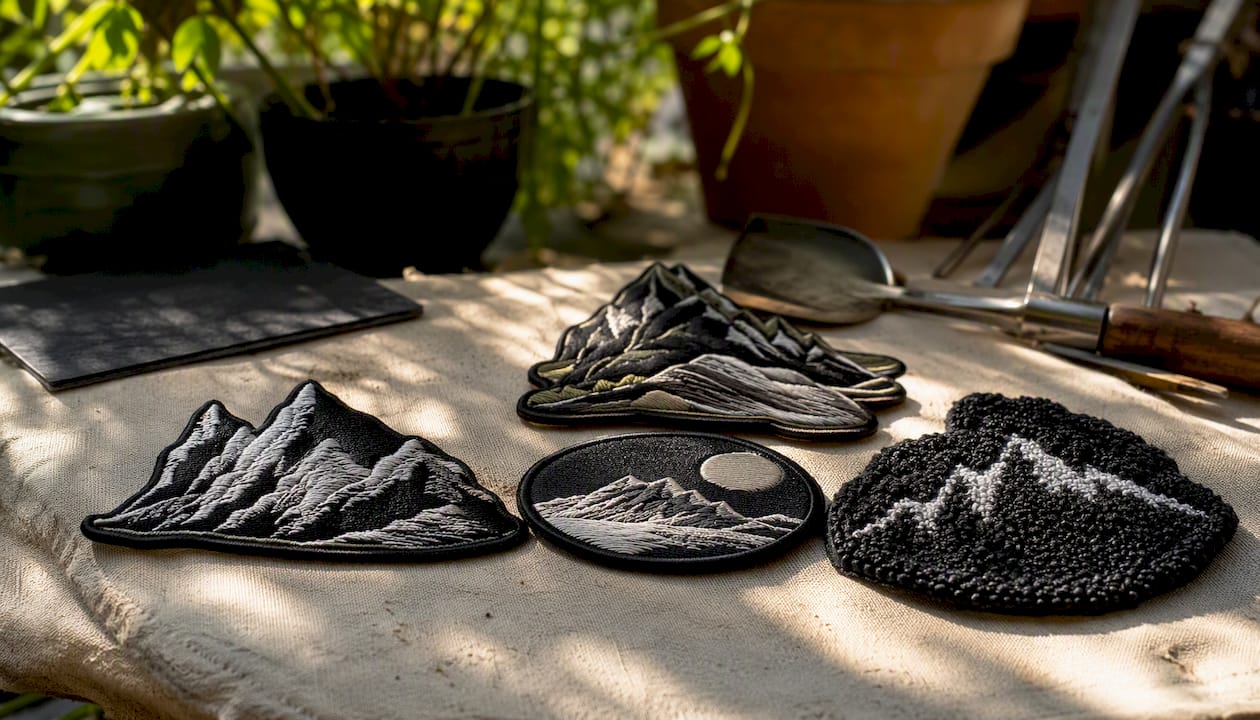
Material choice matters as much as technique. Felt is soft and affordable for casual patches; twill and cotton give a clean, structured base for logos; canvas and denim hold up to heavy use on bags and workwear.
Backing and edge choices shape both cost and durability. A merrowed edge gives that classic, handcrafted rim but demands precise digitizing and extra stitch count, while a laser-cut edge produces crisp, clean lines on complex shapes and often trims production time.
Pro Tip: If your design has sharp inside corners or thin points, ask your producer about laser-cut edging first. Merrowing those shapes usually means redesigning the outline to keep the border from puckering.
How Do You Design Artwork for an Embroidered Patch?
Size drives everything in embroidery. A denser design packed into a small hat patch (around 2 to 2.5 inches) needs simpler shapes than the same logo stitched across a 4-inch jacket back, because thread has a physical width that ink doesn’t. Most producers recommend testing your design printed at full scale on paper before sending it anywhere, so you can check stroke widths and letter spacing with your own eyes first.
Simplify aggressively. Fine details under about 1/16 inch tend to fill in or disappear once stitched. Thin lines should become small filled shapes, not strokes, and lettering generally needs to be large enough to remain readable. Gradients don’t translate directly to thread. Instead, digitizers simulate shading with layered fill stitches, or you switch to a UV-printed patch when a design leans on photographic color blending.
Before you send a file anywhere, confirm you have:
- A vector file (AI, EPS, PDF) or a high-resolution PNG at final size
- Clearly separated color areas, ideally matched to a standard thread chart
- Any dieline or cutline needed for laser-cut edges
- Realistic proof expectations, since most shops send a digital mockup before stitching a physical sample
Pro Tip: Print your artwork at actual size and hold it at arm’s length. If text blurs together or thin lines vanish, a stitching machine will have the same problem, only permanently.
How Are Embroidered Patches Actually Made?
Production runs through a consistent sequence, whether you’re ordering 12 patches or 1,200.
- Digitizing converts your artwork into a stitch file that tells the embroidery machine exactly where thread goes, in what direction, and at what density.
- Sampling produces a single test patch so you can check color, size, and stitch quality before a full run starts.
- Production runs the approved file across multiple heads at once for efficiency.
- Trimming and edging cuts each patch to its final shape, whether merrowed or laser-cut.
- Backing application adds sew-on backing, iron-on adhesive, or a heat-seal layer.
Stitch type depends on the shape it’s filling. Satin stitches handle outlines, borders, and lettering with a smooth, glossy finish. Fill stitches cover large solid areas efficiently. Running stitches add fine linework or subtle texture. Complex jobs often mix all three within a single design.
Stabilizer choice underneath the fabric prevents puckering and stitch distortion. Tear-away, cut-away, wash-away, and prep patch film each behave differently under tension, and heavier cut-away stabilizer is standard for high-stitch-count designs. Many shops finish with a heat-activated post-seal that hides thread jumps on the back and preps the patch for iron-on use.
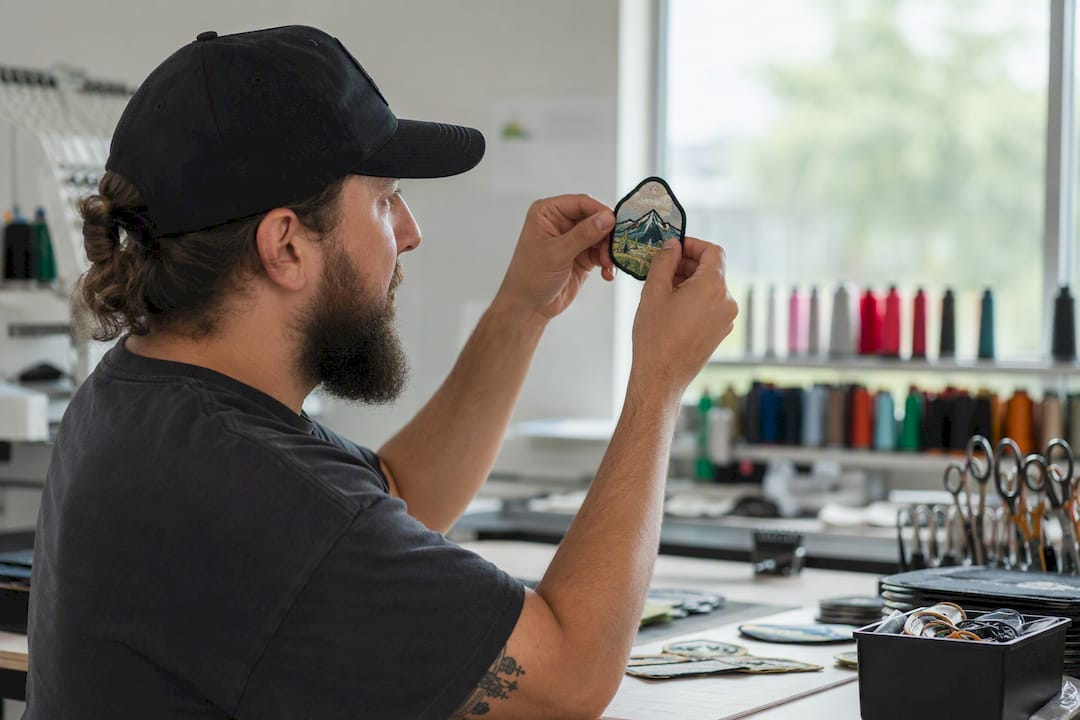
When you approve a sample, check for puckering around dense fill areas, accurate color match against your thread chart, a clean edge finish, and no lifting at the border.
Pro Tip: Ask your first sample come with a photo of the underside. A clean, flat back with no loose jumps is one of the fastest ways to spot a shop that skips the post-seal step.
What Should You Know Before Placing an Order?
Most suppliers need a vector file (PDF or AI) or a high-resolution PNG, plus a dieline if you’re using a laser-cut edge. If you’re placing patches on hats, note the exact placement (front panel, side, back) since curved surfaces affect how a design reads once stitched.
Cost per piece moves with stitch count, patch size, number of thread colors, edge type, backing choice, and total quantity. More colors mean more thread changes, which adds machine time even before the stitch count itself climbs.
Turnaround has three real components: digitizing (usually the fastest step), sampling and approval (the step people underestimate), and the production run itself. Small batches move faster start-to-finish than they seem like they should, since there’s less to schedule around.
Before submitting an order:
- Finalize your art at the exact production size.
- Request a digital mockup and stitch count estimate.
- Ask for a physical sample or clear photo proof before any bulk run.
How Do You Attach and Care for Embroidered Patches?
Attachment method depends on the surface and how permanent you want the result.
- Hand sewing works on any fabric and gives the strongest long-term hold; a whip stitch or blanket stitch around the merrowed edge is standard.
- Machine sewing is faster for repeated placements and holds up to heavy washing.
- Iron-on/heat-seal requires a hot iron (typically 300 to 350°F), firm pressure, and 20 to 30 seconds per section, pressed from both front and back with a cloth barrier.
- Pressure-activated adhesive backing sticks on contact, useful for hats and quick swaps but less durable than stitching.
- Velcro allows patches to be swapped between garments, common on tactical gear and uniforms.
Care matters more than most buyers expect. Turn garments inside out before washing, use cold water, and skip the dryer’s high heat setting when possible, since repeated heat cycles are what usually cause edge lift over time. If an edge starts lifting, a small dab of fabric glue or a quick re-press with an iron typically solves it before it spreads.
Pro Tip: Check every patch after its first wash. Catching a lifted corner early takes thirty seconds to fix; catching it after five more washes usually means resewing the whole edge.
Can You Make an Embroidered Patch at Home?
Two DIY paths work well for individual makers: hand embroidery and machine in-the-hoop production.
For hand embroidery, gather felt or heavy canvas, embroidery floss, needles, an embroidery hoop, a water-soluble marking pen, and a stabilizer backing. Transfer your design onto the fabric, hoop it tight, stitch your outline first, fill in with satin stitches, then finish the edge with a whip stitch border.
For machine work, an in-the-hoop workflow uses a tear-away stabilizer, front and back dielines, temporary spray adhesive, and matching bobbins to keep everything aligned through multiple stitch passes.
- Hoop your stabilizer and stitch the back dieline.
- Tack down your patch fabric with adhesive.
- Embroider the design details.
- Stitch the front dieline as a cutting guide.
- Tack down backing fabric, unhoop, and trim.
Hand stitching gives more control but takes longer and varies patch to patch. In-the-hoop machine work is faster and more consistent, though it demands heavier stabilizer and more setup. For anything beyond a handful of patches, professional production becomes the more practical route.
A Patch Maker’s Take on What Actually Goes Wrong
Most early mistakes trace back to artwork that was never tested at final size, not a bad supplier. Hat Patch Supply builds around no minimum orders and adhesive-backed options specifically because makers need to test a design in the real world before committing to a production run, without a UV-printed option sitting there as the faster fix when embroidery detail gets too fine.
Frequently Asked Questions
How do I design an embroidered patch from scratch? Start with a simple, bold layout. Keep lettering above 0.25 inches tall, and prepare a vector file or high-resolution PNG at the exact final size before sending it to a digitizer.
How do I apply an embroidered patch to a hat or jacket? Sew it by hand or machine for the strongest hold, or use an iron set to 300 to 350°F with firm pressure for 20 to 30 seconds if the patch has an iron-on backing.
How do I hand-embroider a patch myself? Hoop your fabric with a stabilizer underneath, outline your design first, fill it in with satin stitches, then finish the edge with a whip stitch for a clean border.
What’s the difference between merrowed and laser-cut edges? A merrowed edge wraps the border in extra thread for a classic look but needs precise digitizing, while a laser-cut edge cuts cleanly around complex shapes and often reduces production time.
Ready to move from design to production? Hat Patch Supply produces custom UV-printed and laser-engraved patches with no minimum order requirements and adhesive backing built in, so you can test a design like the Troutscape UV Printed Patch at small scale before committing to a full embroidery run. Explore the full Hat Patch Supply catalog to get a proof started today.
Sources
For hands-on tutorials, the Urban Threads in-the-hoop guide and LUMIN’s DIY patch guide walk through hand and machine methods step by step. Embroidery Legacy’s production guide covers stabilizer choices and post-patch sealing in more depth. For type comparisons, see Jiamei’s guide to patch techniques. On the product side, browse Hat Patch Supply’s UV-printed patches or the free downloadable patch shapes for sizing tests. If you’re customizing leather goods, Dr. Jacket’s guide to leather embroidery is a useful outside reference.
Recommended
- Hat Patch Making Made Simple: 7 Powerful Tips to Create Custom Hats That Stand Out - Hat Patch Supply by Hat Foundry
- Trouble Maker Hat Patch - Unique and Trendy Accessories – Hat Patch Supply
- The Evolution of Hat Patches: From Embroidery to Leather to UV Printed Patches (and Beyond) - Hat Patch Supply by Hat Foundry
- Troutscape UV Printed Patch - Durable and Stylish Design – Hat Patch Supply
Ready to press your own?
Custom UV patches with no minimum, shipped in 72 hours — or grab a free-shipping sample pack first.