


Hat Patch University
Patch Design Templates: Free and Paid Downloads for Designers

The fastest path to a production-ready patch starts with a vector master file — AI, EPS, or SVG — downloaded from Freepik, VectorStock, Vecteezy, Magnific, Adobe Stock, Sienna Pacific, or Hat Patch Supply. For embroidery orders, you will also need stitch-ready formats (DST, PES, EXP, or EMB), which a digitizer or conversion tool generates from your vector master. Two steps cover most projects: download the vector source file first, then export or request the stitch file from your vendor or a conversion service before sending to production.
Key Takeaways
Vector master files (AI, EPS, SVG) are the foundation of every production-ready patch design, and stitch files (DST, PES) are generated from them, not designed in them.
| Point | Details |
|---|---|
| Start with a vector master | Download AI, EPS, or SVG files from Freepik, Vecteezy, VectorStock, or Hat Patch Supply. |
| Separate layers matter | Keep artwork, cut path, and production notes on distinct named layers to avoid machine errors. |
| Stitch files come last | Submit a clean vector to a digitizer; DST/PES/EXP/EMB are outputs, not starting points. |
| License before you edit | Confirm commercial use rights before editing any downloaded template for client or resale work. |
| Sample before full production | Order one physical patch to verify stitch density, color, and size before a full run. |
Table of Contents
- What patch design templates work best for each shape?
- Which file formats do you actually need for patch design?
- Where can you download free and paid vector patch templates?
- How do you go from a downloaded template to a production-ready file?
- How do you prepare files for embroidery versus printed or UV patches?
- Why Hat Patch Supply makes the production step straightforward
- The file format conversation is the one most designers skip
- Hat Patch Supply turns your vector file into a finished patch
- Sources
What patch design templates work best for each shape?
Shape choice determines border style, text placement, and which production method is even feasible. Here are the most common base shapes and where each performs best.
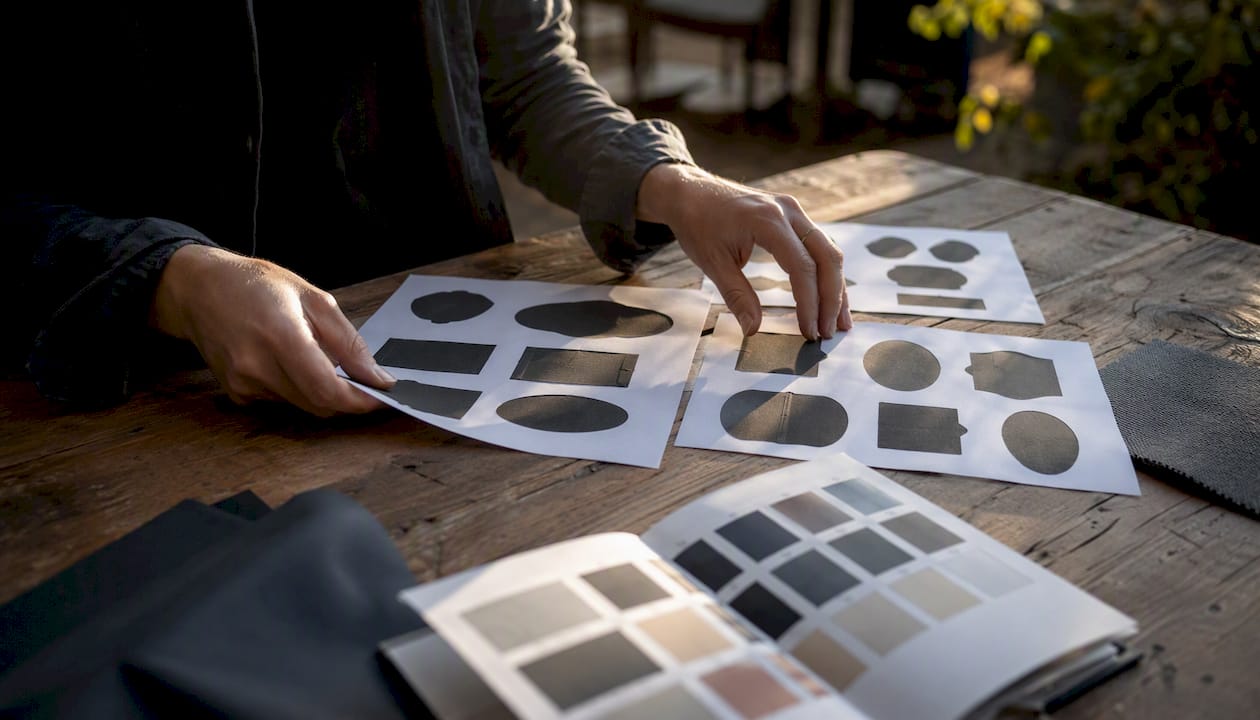
Round with rockers suits brand logos and club patches. The circular field handles centered artwork cleanly, and the rocker arc at the top or bottom carries curved text without distortion. Merrowed borders work naturally on this shape.
Shield and crest shapes carry a heritage feel that works well for military, fire department, and outdoor brand patches. The pointed base creates a natural focal point, though tight corners can challenge merrowed borders on small sizes.
Square and rectangle templates are the most forgiving for text-heavy designs and grid-based logos. Heat-cut or laser-cut borders are common here, especially on printed and leatherette patches.
Wedge and tombstone shapes split the difference between round and rectangular, giving a vintage feel. They appear frequently on workwear and lifestyle brands.
Custom die-cut silhouettes follow the exact outline of an illustration or logo. They offer the most visual impact but require a precise cut path layer and are best suited to UV-printed or laser-engraved leatherette rather than embroidery, where complex outlines add cost and stitching complexity.
| Shape | Best patch types | Sizing note |
|---|---|---|
| Round with rocker | Embroidered, woven, PVC | Diameter commonly varies within a manageable range suitable for patches |
| Shield / crest | Embroidered, printed | Allow border clearance as needed |
| Square / rectangle | Printed/UV, leatherette | Scales cleanly from 1 to 5 inches |
| Wedge / tombstone | Embroidered, printed | Keep text above 1.5 mm height |
| Custom die-cut | UV-printed, laser leatherette | Requires explicit cut path layer |
Which file formats do you actually need for patch design?
Vector master files are the non-negotiable starting point. AI (Adobe Illustrator native), EPS, SVG, and editable PDF all preserve scalable paths, spot colors, and separate layers. PNG and JPG are useful only for mockups or client previews — never submit a raster file as your production source.
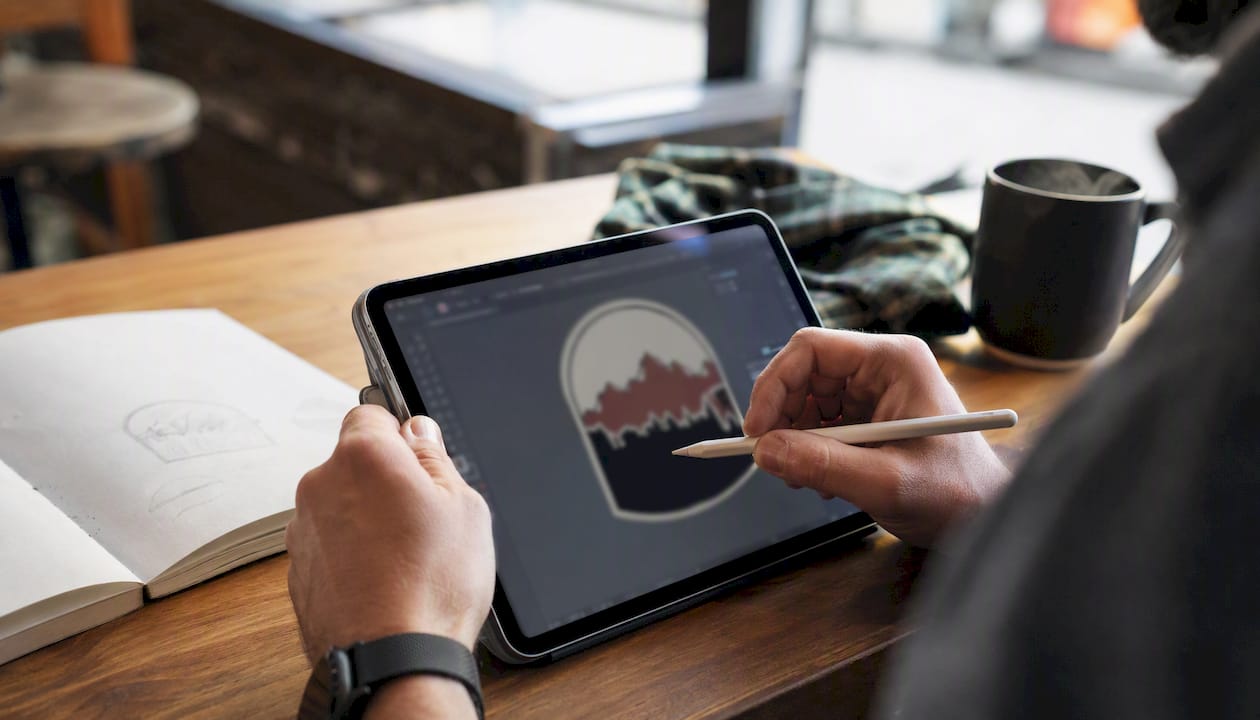
Stitch formats are a separate category entirely. DST, PES, EXP, and EMB are machine-instruction files that tell an embroidery head where to place each stitch. You do not design in these formats; a digitizer converts your vector artwork into them. Submitting a clean, simplified vector to your digitizer produces a better stitch file than submitting a complex, layered illustration.
For editing, Adobe Illustrator remains the industry standard for patch work because its artboard system, spot-color libraries, and Pathfinder tools map directly to production workflows. Affinity Designer is a cost-effective alternative with solid SVG and PDF export. Inkscape handles AI and SVG files and costs nothing, making it a practical choice for designers who need to open a downloaded template without a subscription.
Pro Tip: When preparing files for laser-cut or engraved leatherette patches, always keep the cut path on its own separate layer as a single stroke with no fill, and keep the artwork on a distinct layer beneath it. Laser workflows like Lightburn read layer order and color assignments to distinguish cut operations from engrave operations — mixing them on one layer causes machine errors.
Where can you download free and paid vector patch templates?
Freepik hosts both premium and AI-generated hat patch mockups alongside editable vector assets. Free-tier downloads require attribution; premium plans remove that requirement and unlock higher-resolution source files. The mockup assets are particularly useful for placing your finished design onto a hat photo before ordering.
Vecteezy offers a large free vector library covering patch shapes, badge outlines, and decorative borders. Free downloads require a Vecteezy account and attribution for the free license tier; a Pro subscription provides a commercial license without attribution.
VectorStock catalogs royalty-free patch template vectors built for commercial projects. Each asset carries a clear license statement, which makes it the stronger choice when a client project requires documented commercial rights.
Magnific surfaces patch template vectors through its stock index, with preview metadata and download options that work similarly to other mid-tier stock sites. Adobe Stock provides curated, editor-grade assets with guaranteed commercial licensing, which is worth the per-asset cost on client work where license ambiguity is a liability.
Sienna Pacific offers template packs oriented toward production, with shapes and guides that align with common embroidery and printed patch specifications. Hat Patch Supply provides free patch shape downloads and production-ready templates through Hat Patch University, with direct links to ordering when you are ready to move from file to finished patch.
License checklist before you edit any downloaded template:
- Confirm whether the license covers commercial use or personal use only.
- Check attribution requirements for the free tier.
- Verify whether the license covers resale on finished goods (patches sold on hats or merchandise).
- Download and save the license document alongside your source file.
Designers working on personal concepts often start with Vecteezy or Freepik’s free tier. Client work with commercial deliverables generally warrants VectorStock or Adobe Stock, where the license trail is cleaner.
| Source | Formats available | License type | Best for |
|---|---|---|---|
| Freepik | AI, EPS, SVG, PNG | Free (attribution) / Premium | Mockups and quick concepts |
| Vecteezy | SVG, EPS, AI | Free (attribution) / Pro | Large free library |
| VectorStock | EPS, AI, SVG | Royalty-free commercial | Client and commercial work |
| Magnific | SVG, EPS | Free / Premium | Stock vector browsing |
| Adobe Stock | AI, EPS, PDF | Commercial license | Editor-grade assets |
| Sienna Pacific | AI, PDF | Template packs | Production-aligned shapes |
| Hat Patch Supply | AI, SVG, PDF | Production-ready | Hat-specific templates |
How do you go from a downloaded template to a production-ready file?
- Open the vector master file in Illustrator, Affinity Designer, or Inkscape. Confirm all layers are intact and no elements are embedded as rasters.
- Set the artboard to your final patch size in inches. A 2-inch round patch should have a 2-inch artboard, not a 12-inch canvas scaled down.
- Separate artwork and cut path onto distinct layers. Name them clearly: “Artwork,” “Cut Path,” “Production Notes.” The Atomm hex hat patch template demonstrates this layer structure for laser-engraved leatherette, where a shape-only file is insufficient for machine workflows.
- Simplify fine details and convert all text to outlines. Strokes thinner than 1 pt and text smaller than 1.5 mm will not stitch reliably. Outline fonts prevent substitution errors at the digitizer.
- Define spot colors or thread colors. For embroidery, map each color to a Pantone reference or a thread chart number. For printed patches, use CMYK or RGB values your printer specifies.
- Export proof mockups as PNG with a transparent background and as a flattened PDF. Use the Adobe Illustrator mockup tool from Hat Patch Supply to place your design onto a hat photo for client approval.
- Request stitch file conversion from your manufacturer or a digitizing service, submitting the clean vector master.
Pro Tip: Add a “Production Notes” artboard inside your file that lists the intended finished size, backing type (iron-on, adhesive, sew-on), border style (merrowed or heat-cut), and the stitch file format your manufacturer requires. Templates that include these notes, like the free patch design template from Pinlord, consistently reduce back-and-forth with manufacturers.
How do you prepare files for embroidery versus printed or UV patches?
The export requirements differ significantly between these two production paths.
For embroidered patches, simplify your vector to clean, closed shapes. Avoid gradients, thin strokes, and photographic elements — none of these translate to thread. Define thread colors using a standard chart (Madeira, Isacord, or Pantone-to-thread conversion). Your manufacturer’s digitizer will convert the vector to DST, PES, EXP, or EMB. Minimum recommended patch size for legible text should be large enough to maintain clarity; very small sizes may cause fine letterforms to lose detail.
For UV-printed and laser-engraved leatherette patches, supply a high-resolution vector or a flattened PDF with any raster elements at 300 DPI or higher. Include a bleed of at least 0.0625 inches around the artwork, a separate cut path layer, and, for UV printing, separate layers for any white ink underbase or varnish coat. Pre-cut leatherette patches with adhesive backing, like Hat Patch Supply’s UV-printed leatherette options, require the cut path to match the finished shape exactly.
- Embroidery: submit AI, EPS, or SVG; request DST/PES output from digitizer.
- UV-printed: submit vector PDF or AI with 300 DPI rasters, bleed, and cut path.
- Laser-engraved leatherette: submit SVG or AI with separate cut and engrave layers.
- Woven patches: submit simplified vector with flat color separations, no gradients.
| Patch type | Submit format | Output format | Key spec |
|---|---|---|---|
| Embroidered | AI, EPS, SVG | DST, PES, EXP, EMB | Simplify shapes, outline text |
| UV-printed | Vector PDF, AI | Print-ready PDF | 300 DPI rasters, bleed, cut path |
| Laser leatherette | SVG, AI | Machine file (LBN, XCS) | Separate cut and engrave layers |
| Woven | AI, EPS | Woven spec file | Flat colors, no gradients |
Order a physical sample before committing to a full production run. Digital mockups confirm layout and color intent, but a sample patch reveals stitch density, thread sheen, and actual size in hand.
Why Hat Patch Supply makes the production step straightforward
Hat Patch Supply covers the full range of patch types that designers encounter after completing their templates: custom UV-printed hat patches, laser-engraved leatherette, embroidered patches, adhesive-backed pre-cut options, and PVC patches. No minimum order quantities means you can order a single sample to proof your design before committing to volume.
The workflow from template to finished patch follows a clear path:
- Submit your vector master file (AI, EPS, SVG, or PDF).
- Select your patch type and backing option.
- Approve the digital proof or request a physical sample.
- Place your production order.
Hat Patch University at Hatpatchsupply provides how-to guides covering design prep, file formats, and application methods — a practical reference to keep open alongside your design file.
The file format conversation is the one most designers skip
Most articles about patch design templates spend their energy on where to download shapes and very little on what happens after. That gap costs designers time and money.
The single most common production delay we see is a designer submitting a beautiful, complex vector and expecting the manufacturer to handle everything downstream. Embroidery digitizing is not automatic. A vector with 14 colors, gradient fills, and 0.5 pt hairline strokes will come back with questions, corrections, or a stitch file that looks nothing like the original. Simplifying before you submit is not dumbing down your design. It is understanding the medium.
The same logic applies to laser-engraved leatherette. A single-layer file with artwork and cut path merged together is a workflow problem waiting to happen. The Atomm hex hat patch template makes this visible in a way that most stock templates do not — it shows exactly how a professional separates cut and engrave operations at the file level.
Free templates from Vecteezy or Freepik are genuinely useful starting points, but they are rarely production-ready out of the download. Treat them as shape references, not finished files. The real work is in the layer structure, the color definitions, and the production notes you add before sending anything to a manufacturer.
Hat Patch Supply turns your vector file into a finished patch
Designers who have worked through the template and file-prep process described above are one step from a finished product. Hat Patch Supply produces full-color UV-printed hat patches and wholesale laser-engraved leatherette patches with no minimum order, adhesive backing options, and fast production turnaround — which means you can order a single proof patch before committing to a run.
Submit your vector master file, choose your patch type and backing, approve the digital proof, and Hat Patch Supply handles production from there. No minimum quantities, no long lead times, and no need to source a separate digitizer for UV or leatherette options. Visit Hatpatchsupply to upload your file and get a quote.
Sources
- Hat patch template mockup Blank hat patch template for custom designs editable
- Patch template Vector Images & Graphics for Commercial Use | VectorStock
- Patch Vector Art, Icons, and Graphics for Free Download
- Hex Hat Patch Template - Free Files - Atomm
Recommended
Ready to press your own?
Custom UV patches with no minimum, shipped in 72 hours — or grab a free-shipping sample pack first.