


Hat Patch University
Remove Patch Adhesive Without Ruining the Fabric

The fastest safe way to remove patch adhesive is to reheat it with an iron or hairdryer, lift the patch while the glue is still warm, then clean up leftover residue with a gentle solvent. Heat reactivates most heat-activated adhesives so they release from the fibers instead of tearing them, and a mild solvent finishes the job on whatever residue is left behind. Loctite’s own guidelines back this same order of operations: start gentle, escalate only if you have to.
- Verdict: Heat first, solvent second, mechanical scraping only for stubborn chunks.
- Why it works: Most patch backings use a thermally activated polymer that softens well below scorching temperatures.
- Fallback: Isopropyl (rubbing) alcohol handles most leftover tack safely across a wide range of fabrics.
Key Takeaways
Removing patch adhesive safely means heating first, testing solvents on a hidden seam, and matching the method to the fabric before touching a garment.
| Point | Details |
|---|---|
| Heat first, always | Reheat with an iron or hairdryer to soften the adhesive before attempting to peel. |
| Match solvent to fabric | Use rubbing alcohol broadly; save acetone for sturdy natural fibers only. |
| Freeze thick blobs | Several hours in the freezer hardens glue so it cracks off with a scraper. |
| Spot-test before treating | Test any solvent on a hidden seam to catch color loss early. |
| Choose better adhesive next time | Hat Patch Supply’s acrylic patches use adhesive built to release cleanly, reducing residue problems on the next swap. |
Table of Contents
- How Do You Remove Patch Adhesive With Heat?
- Which Solvents Actually Remove Adhesive Residue?
- What Mechanical Methods Help Remove Stubborn Adhesive?
- Does Fabric Type Change How You Remove Adhesive?
- How Do You Remove a Patch Without Ruining It?
- What Mistakes Ruin Fabric During Adhesive Removal?
- Sources
How Do You Remove Patch Adhesive With Heat?
The heat-and-peel method works on the vast majority of iron-on patches because their backing is a thermally activated adhesive designed to soften, not permanently fuse, under moderate heat.
What you need: an iron (dry setting, no steam) or a hairdryer, a pressing cloth or paper towel, tweezers or a plastic scraper, and a flat surface to work on.
- Check the garment’s care label for maximum heat tolerance.
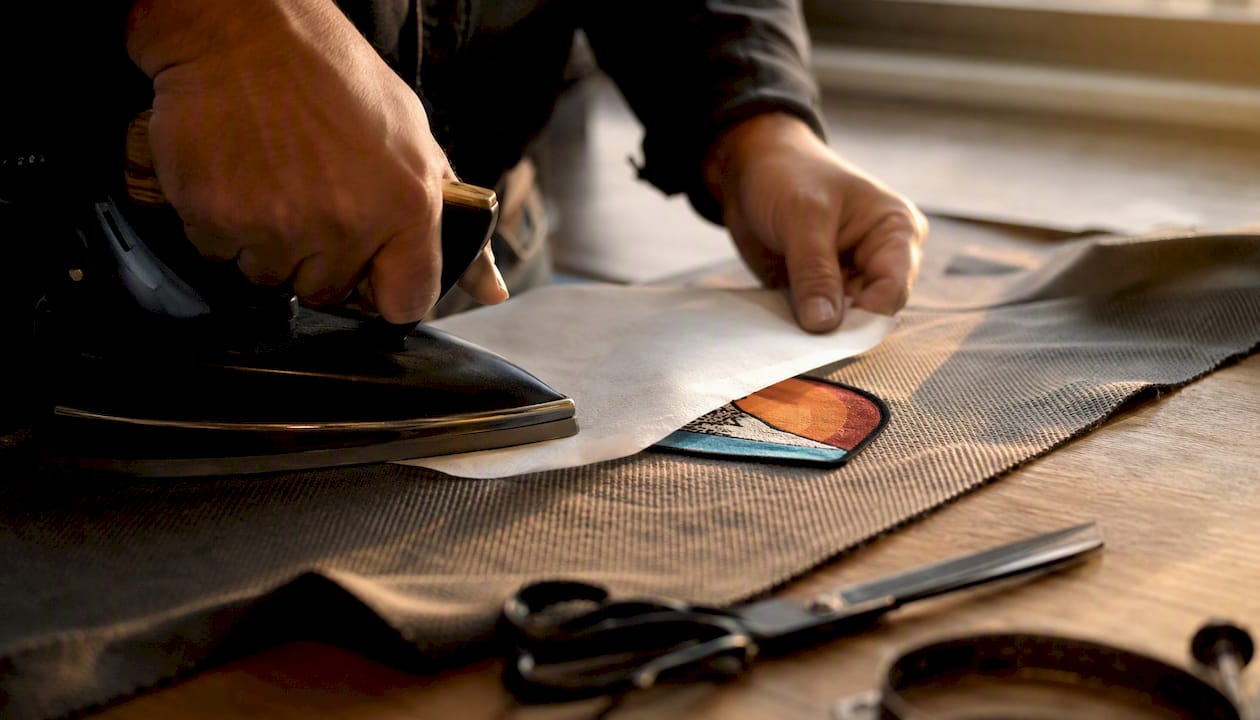
- Lay a pressing cloth or paper towel over the patch to protect the fabric surface.
- Apply heat for 10 to 20 seconds, moving the iron or hairdryer steadily rather than holding it in one spot.
- Lift a corner of the patch with tweezers while the adhesive is still warm.
- Repeat the heat pass if the patch resists, but stop immediately if you smell scorching or see shine developing on the fabric.
Pro Tip: Flip the garment inside out and apply heat from the back. This warms the adhesive layer directly without exposing a printed or embroidered face to direct heat, which matters most on UV-printed or dye-sensitive patches.
Which Solvents Actually Remove Adhesive Residue?
Once the bulk of the patch is off, you’re usually left with a tacky outline. This is where solvent choice matters, and not every household product is safe on every fabric.
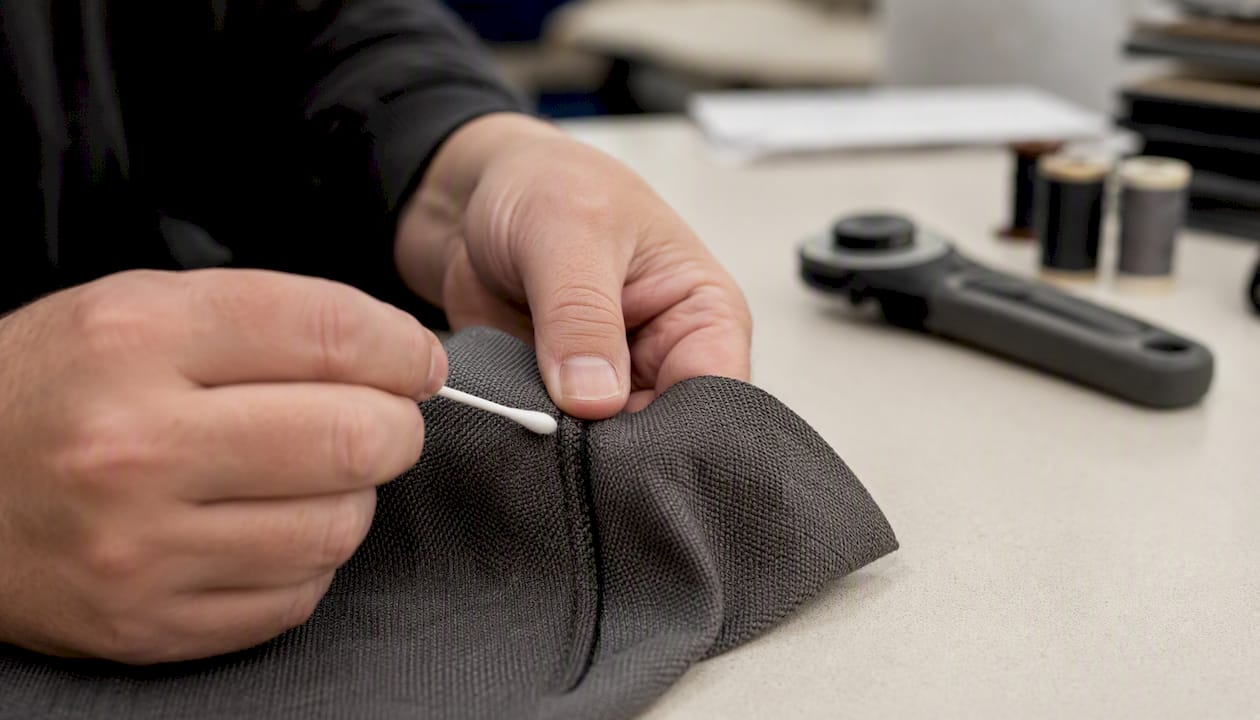
Isopropyl (rubbing) alcohol is the safest general-purpose option. It dissolves many adhesive residues without being as aggressive as acetone, which is why it’s the go-to first solvent for most cotton, denim, and blended fabrics. Acetone (or acetone-based nail polish remover) cuts through stubborn glue faster, but it can eat into synthetic fibers like polyester, acetate, and spandex, and it can pull dye out of colored fabric. Reserve it for sturdy natural fibers after testing on a hidden seam.
Goo Gone and other citrus-based commercial removers soften residue chemically while you blot and scrape, and pairing that softening action with light mechanical work tends to outperform either method alone. WD-40 works in a pinch on tougher industrial-style adhesives, but it leaves an oily film that needs a real wash afterward. Dawn dish soap mixed with warm water is the gentlest option and a smart first move on anything delicate. Vegetable oil or petroleum jelly loosens gummy residue slowly through saturation rather than dissolving it outright, which makes it a low-risk overnight soak for fabrics you’re nervous about.
| Solvent | Effectiveness | Fabric safety | Speed | Cost/availability | Color risk |
|---|---|---|---|---|---|
| Rubbing alcohol | High on most residues | Safe for most fabrics | 1 to 2 passes | Cheap, widely available | Low |
| Acetone | Very high | Risky on synthetics | 1 pass | Cheap, widely available | Moderate to high |
| Goo Gone | High | Safe with spot-test | 2 to 3 passes | Moderate cost, common | Low to moderate |
| WD-40 | Moderate to high | Leaves oily residue | 1 to 2 passes | Cheap, widely available | Low |
| Dawn dish soap | Low to moderate | Very safe | 3+ passes | Cheap, universal | Very low |
| Vegetable oil / petroleum jelly | Low to moderate | Very safe | Slow (soak) | Cheap, universal | Very low |
- Always test the solvent on a hidden seam or inside hem first.
- Apply solvent to a cloth, never straight onto the garment.
- Blot rather than rub, let it dwell for a minute, then lift and launder.
- Work in a ventilated space, wear gloves, and keep acetone or alcohol away from open flames.
Dispose of solvent-soaked rags in a sealed metal container rather than a regular trash bag. Acetone and alcohol vapors are flammable in enclosed spaces, and a balled-up rag holds vapor longer than you’d expect.
What Mechanical Methods Help Remove Stubborn Adhesive?
Thick glue blobs sometimes resist both heat and solvent, especially on patches that were pressed on too hot originally. Mechanical removal fills that gap.
- A plastic scraper or the edge of an old credit card lifts hardened residue without scratching fabric fibers.
- A soft toothbrush works loosened adhesive out of textured weaves like denim or canvas.
- Tweezers or a blunt butter knife help peel up patch edges without gouging the surface underneath.
- A garment steamer, or an iron’s steam setting held a few inches away, re-softens adhesive that’s already partly lifted.
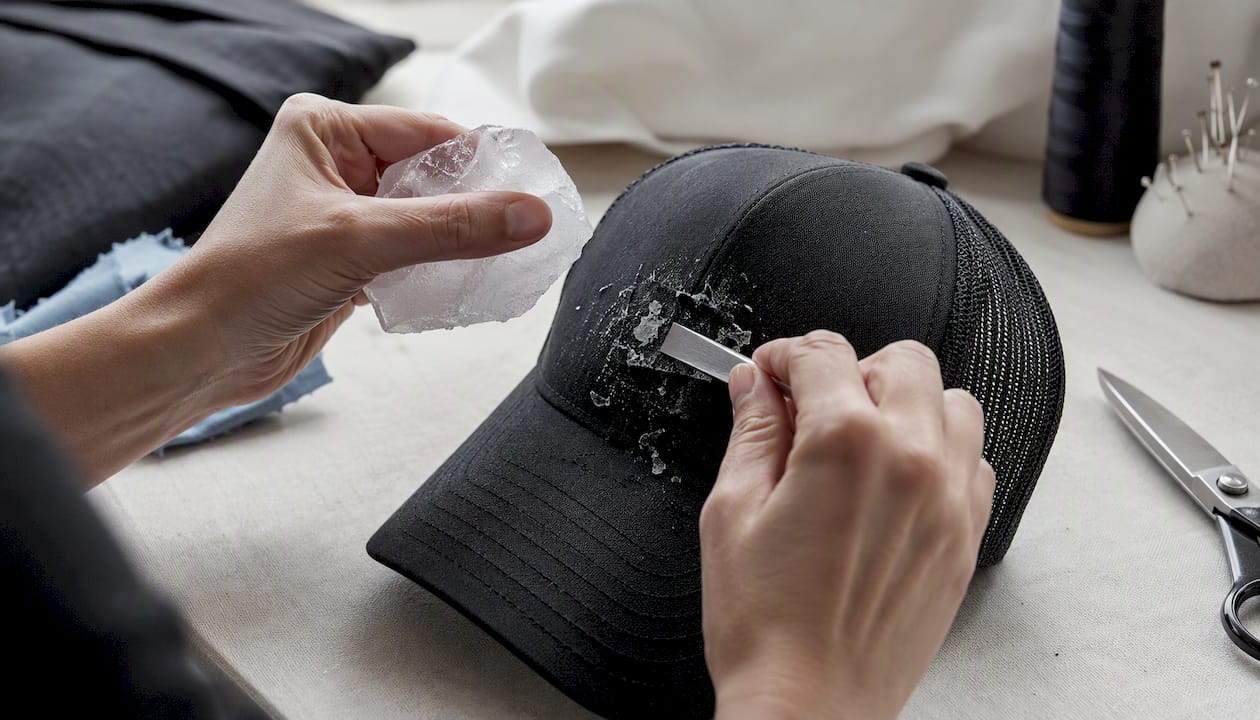
For thick blobs, freezing the garment for several hours hardens the glue so it cracks and flakes off with a scraper instead of smearing. This beats heat on fabrics that are already showing stress, or on prints where more heat risks further damage.
Pro Tip: Alternate freezing and light scraping in short rounds rather than one long freeze. Adhesive re-softens fast once it hits room temperature, so work in small sections.
Does Fabric Type Change How You Remove Adhesive?
Fabric determines which method is safe, and guessing wrong here is how a five-minute fix turns into a ruined shirt.
- Denim and heavy cotton tolerate heat well and can usually handle acetone on residue, but test dyed areas first since some indigo washes lift with strong solvents.
- Natural fibers like linen and cotton blends respond best to heat-first removal, finished with rubbing alcohol. Skip harsh solvents anywhere near a printed design.
- Polyester, nylon, spandex, and acetate are the fabrics where acetone and high heat cause real damage. Stick to low heat, a hairdryer at a distance, dish soap and water, or a fabric-safe commercial cleaner.
- Delicates like silk, rayon, and lace should generally skip both heat and harsh solvents entirely. Try a gentle freeze followed by light blotting, or hand the item to a professional.
- Leather and faux leather should never be saturated with solvent. Use a leather-safe adhesive remover in small amounts, or consult a specialist. Full solvent exposure warps or dulls the finish permanently.
Watch for early warning signs as you work: a slight sheen or stiffening usually means heat damage is starting, and any color transfer onto your cloth means the dye is lifting. Stop the moment you see either.
- Identify fabric type from the care label before choosing a method.
- Match the method to the fabric using the guidance above.
- Stop at the first sign of shine, stiffness, or color bleed.
How Do You Remove a Patch Without Ruining It?
If you want to reuse the patch itself, heat-and-lift from the back is almost always the better call. Aggressive solvents can eat into a patch’s adhesive backing or dull a printed surface, even when the garment fabric survives fine.
- Peel slowly and support the patch’s edges with tweezers instead of pulling from the center.
- If the backing loses its stick, recondition it with a fabric adhesive sheet, or switch to a sew-on application going forward.
- Embroidered patches tolerate more handling than adhesive-backed UV-printed ones, which scratch more easily.
- Avoid acetone on any patch you plan to reuse. It can cloud printed finishes even when the fabric underneath is fine.
Pro Tip: Once a patch is off, check the adhesive rating before reapplying it with a heat press. A patch that lost its original tack usually needs a fresh adhesive backing rather than a second round of heat.
Supplies Checklist: What to Have on Hand
- Iron or hairdryer, plus a pressing cloth or paper towels.
- Rubbing alcohol (70 to 90%) and a citrus-based remover like Goo Gone.
- Plastic scraper or old credit card, soft brush, tweezers.
- Gloves, eye protection, and good ventilation for solvent work.
- Absorbent towels on hand for any spills.
- Optional: leather-safe remover, a small sewing kit, replacement adhesive sheets.
What Mistakes Ruin Fabric During Adhesive Removal?
Most fabric damage comes from skipping a basic precaution, not from using the wrong product entirely.
- Ripping a cold patch off instead of warming it first.
- Using acetone on polyester, spandex, or acetate without testing.
- Overheating direct contact without a protective cloth in between.
- Skipping the spot-test and finding out about color loss on the visible part of the garment.
Spot-testing any solvent on a hidden seam before treating the visible area is the single step that prevents most unexpected color loss or finish damage, according to Loctite’s removal guidelines.
Work in a ventilated room, wear gloves when handling alcohol or acetone, and keep any solvent away from open flames or pilot lights. Dispose of solvent-soaked rags in a sealed container rather than a regular wastebasket.
When Should You Take It to a Professional Instead?
Some jobs aren’t worth the DIY risk. Watch for these red flags:
- The fabric is delicate, vintage, or otherwise irreplaceable.
- The adhesive has fused permanently into the fibers rather than sitting on the surface.
- You’ve already tried heat and solvent with no progress, and the stain is spreading instead of shrinking.
- Discoloration is already visible and getting worse with each attempt.
A dry cleaner has access to commercial-grade solvents and targeted steam equipment that go beyond what’s safe at home, and a leather specialist can save a jacket that DIY solvent would ruin. Weigh the item’s sentimental or dollar value against a professional cleaning quote before you keep pushing on your own.
Choosing Patches That Won’t Leave a Mess Later
The easiest way to avoid this whole process is picking the right patch and adhesive up front. A few habits from years of producing patches for hat makers and brands:
- Choose sew-on or hook-and-loop backing for patches you expect to swap out often.
- Match the adhesive rating to the fabric type before pressing, not after a problem shows up.
- Test on a scrap sample before committing to a full run, especially on synthetic blends.
Hat Patch Supply builds its UV-printed and laser engraved leatherette patches with adhesive backing designed to bond cleanly and release predictably, which matters more once you’re the one trying to remove it later. For a deeper look at how UV printed, laser engraved, and embroidered options compare, the differences in residue risk are worth knowing before you order.
A Practical Note From the Bench
The trick that saves the most patches is low, patient heat rather than one aggressive blast. Reactivate the adhesive slowly, always with a paper barrier between the iron and the printed face, and let the glue do the work instead of forcing the peel.
A Lower-Hassle Option Worth Knowing About
If you’ve gone through a round of heat, solvent, and scraping and the patch still won’t come off clean, or came off but isn’t worth reusing, replacing it outright is often faster than fighting the fabric further. Hat Patch Supply’s tri-layer acrylic patches use a removable-friendly adhesive built to release without leaving the stubborn residue that plagues cheaper iron-on backings, so future swaps are far less painful.
This section is Hat Patch Supply’s own recommendation, offered because we make the patches ourselves and see this exact problem constantly. If your current patch is beyond saving, browse custom UV printed hat patches or start a design at Hat Patch Supply to get a replacement made with adhesive that won’t fight you next time.
Sources
- How to remove adhesives: The best ways to get rid of residue
- How to Remove Iron On Backing from Patch Without Damaging Fabric - Qinghan Label
- Remove Adhesive From Embroidered Patches
- Easy Steps To Remove Plastic Backing From Your Patch Effortlessly | ShunPoly
Recommended
Ready to press your own?
Custom UV patches with no minimum, shipped in 72 hours — or grab a free-shipping sample pack first.