


Hat Patch University
Trade Show Banner Design for Hat Brands: 2026 Guide

Your banner needs one bold headline stating what you sell, placed in the top two-thirds of the display, with a QR code for lead capture and your contact at the bottom. That’s the complete formula without specific size details.
Quick-start checklist:
- Headline first: a concise bold sans-serif headline that states your product or core benefit
- Top-two-thirds placement: keep all critical text above the midpoint so booth counters never obscure it
- File-ready specs: PDF/X-1a or high-res PDF, CMYK color mode, 100–150 DPI at full size, 0.25"–0.5" bleed
Upload your print-ready file directly to Hatpatchsupply for fast U.S. turnaround on both banners and matching hat patches.
Pro Tip: If your brand name doesn’t immediately communicate what you sell, add a five-word tagline beneath it. “Custom Patches for Hat Brands” does more work than a logo alone.
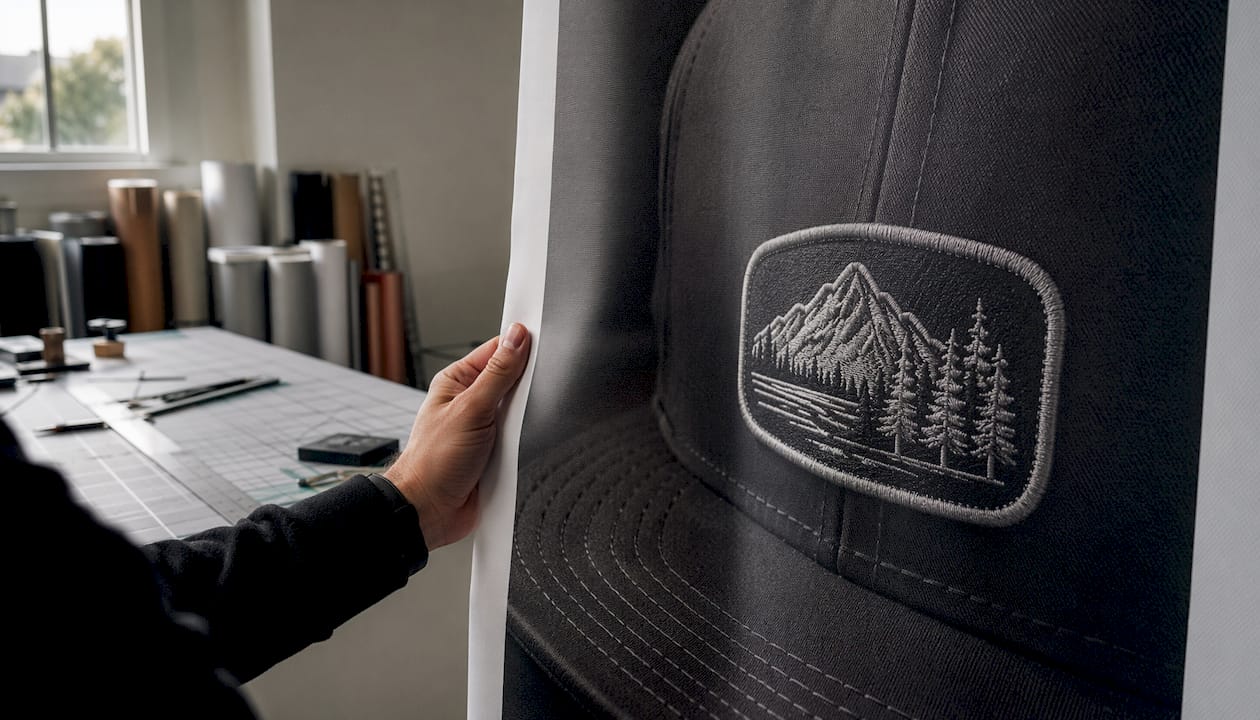
Table of Contents
- What makes trade show banner design work for hat brands?
- What file specs and banner sizes do U.S. printers actually need?
- Which materials and stand types fit hat brands best?
- How do you add QR codes and lead capture to your booth banner?
- What does banner production actually cost and how long does it take?
- Your printable hat brand banner checklist
- Hatpatchsupply makes banner and patch orders work together
- Key Takeaways
- What we’ve learned about booth banners for hat brands
What makes trade show banner design work for hat brands?
A logo-only banner underperforms for any emerging brand, and hat makers are no exception. Your headline must state what you sell or the primary benefit within three seconds of a passerby glancing at it.
Visual hierarchy from top to bottom:
- Top zone: Brand name or logo, large and high-contrast
- Eye-level zone: One-line value proposition (“Custom UV Patches, No Minimums”)
- Support zone: One benefit or differentiator, brief
- Bottom zone: CTA, contact info, QR code
Typography matters more than most hat brands expect. Use a bold sans-serif for the headline — Montserrat, Helvetica, or similar — and limit yourself to two fonts total. Your headline should be clearly readable from a typical viewing distance; body text should be legible at close range. High contrast between text and background is non-negotiable: test your design in grayscale before sending to print.
For imagery, a tight close-up of your best hat with a visible patch tells the story faster than any tagline. One strong product photo beats three small ones every time. When your hat photography is sharp and well-lit, it also doubles as social content from the show floor.
Pro Tip: Add battery-powered LED clip lights to a retractable stand. Convention hall lighting is often dim and unflattering; a small spotlight on your banner makes it read as premium at minimal cost.
What file specs and banner sizes do U.S. printers actually need?
Get the file right before you finalize the design. Large-format printing targets 100–150 DPI at full size; supply files in CMYK, not RGB. Preferred formats are PDF/X-1a, high-res TIFF, or a packaged Adobe Illustrator file with all linked assets and fonts outlined.
Bleed and safety margins:
- Bleed: a small margin on all sides as required by your printer
- Safe zone: keep critical text at least 1" from any edge
- Key message: top two-thirds only
Common banner sizes vary depending on booth and display type:
| Banner type | Common size | Best use |
|---|---|---|
| Tabletop banner | Small size, suitable for counter displays and craft fair tables | |
| Standard retractable | Common size for portable 10×10 booths and demo support | |
| Wide retractable | Larger size used as a main backdrop for small booths | |
| Fabric hop-up | Wide banner for seamless backwall, photo-friendly | |
| 10’ popup backwall | Large backdrop for full island or inline booths |
Printer preflight checklist:
- Color mode set to CMYK
- All images linked and embedded
- Fonts outlined or embedded
- Resolution confirmed at 100–150 DPI at final print size
- Bleed added (0.25"–0.5")
- File saved as PDF/X-1a or packaged AI
- Filename includes brand name, size, and version number
For Pantone-critical brand colors, specify Pantone values in your file notes. Use the Adobe Illustrator Hat Patch Mockup Tool to prepare and proof vector patch assets alongside your banner artwork so colors stay consistent across both.
Which materials and stand types fit hat brands best?
Choose your substrate and hardware based on how often you exhibit, how far you travel, and the finish level your brand demands. Vinyl is durable and cost-effective for frequent shows; fabric reads as more premium and photographs cleaner for backwalls. Tension fabric on a hop-up frame gives a seamless, wrinkle-resistant backdrop that pairs well with hat product photography.
Material and finish options:
- Vinyl scrim: Durable, affordable, slight glare under bright hall lights
- Blockout vinyl: Opaque, good for double-sided applications
- Dye-sublimation polyester knit: Soft finish, excellent for backwalls, travels well
- Backlit substrates: High visual impact, requires compatible LED frame
- Tabletop leatherette: Matches patch sample displays for a cohesive counter setup
Stand types and trade-offs:
| Stand type | Best for | Watch-out |
|---|---|---|
| Retractable roll-up | Fast setup, portable shows | Too much text kills readability |
| Tension fabric hop-up | Seamless backwall, photo moments | Needs proper tensioning to avoid wrinkles |
| Step-and-repeat | Social media photo ops | Requires repeat logo pattern, not a headline |
| Feather flag | Outdoor events, high-traffic aisles | Wind resistance varies by hardware |
| Tabletop banner | Counter branding, craft fairs | Shouldn’t carry the primary headline |
For stand durability and event frequency, consult your production partner before ordering. A low-cost disposable stand may cost more over a full show season than a well-built reusable system. Weighted feet and reinforced grommets extend hardware life significantly. When your banner finish matches your patch samples on the counter, the whole booth reads as one intentional brand.
How do you add QR codes and lead capture to your booth banner?
The 2026 trade-show trend is clear: static signage is giving way to interactive, lead-capturing displays. A large, scannable QR code that links directly to a short lead form, demo video, or exclusive discount turns passive foot traffic into measurable contacts.
QR placement and sizing rules:
- Place QR in the lower-to-middle third, below the headline but above the booth counter line
- Minimum printed size: large enough for close-range scanning; larger sizes improve scanning from distance
- Always include an explicit CTA line above or below the code (“Scan for 10% off your first order”)
- Add a short URL or booth number as a fallback for attendees who prefer not to scan
What to link your QR code to:
- A short lead form (name, email, hat brand name — three fields maximum)
- A product demo video showing your UV-printed patches in action
- A limited-time discount for hat buyers at the show
- A direct product page for your most popular patch SKU
Accessibility matters here. Not every attendee will scan, so the short URL fallback keeps you from losing leads. For 2026 hat patch trends around personalization and interactive elements, a QR that lands on a customization tool or product configurator performs especially well.
Pro Tip: Pre-fill lead form fields where possible using UTM parameters or event-specific landing pages. Offer an instant reward — a discount code or a free patch sample — to push conversion rates higher. Keep data collection U.S. privacy compliant.
What does banner production actually cost and how long does it take?
Standard turnaround for a single retractable banner at a U.S. print vendor usually takes several business days for production and shipping. Rush options may be available for an additional cost. Allow extra days for proofing and art approval.
Variables that affect price and timeline:
- Substrate choice (vinyl vs. fabric vs. backlit)
- Finished size and stand type
- Finishing options (grommets, pole pockets, hemming)
- Custom soft case or crate for shipping
- Single order vs. repeat print quantity
Typical U.S. production timelines and cost ranges vary by banner type:
| Banner type | Typical timeline | Ballpark cost range |
|---|---|---|
| Tabletop banner | Short production time with modest cost | |
| Standard retractable | Moderate production time with mid-range cost | |
| Wide retractable | Longer production time with higher cost | |
| Fabric backwall | Longest production time and higher cost due to size and material |
Confirm exact pricing with Hatpatchsupply at checkout, as costs vary by spec. For hat brands doing multiple shows per year, no-minimum ordering lets you print show-specific variations without committing to bulk quantities you may not use.
Your printable hat brand banner checklist
This is the one-page checklist to hand your designer or attach to your print order.
- Headline confirmed: 5–8 words, states product or benefit clearly
- Key message placed in top two-thirds of the layout
- File format: PDF/X-1a or packaged AI with linked assets
- Color mode: CMYK throughout; Pantone values noted for brand colors
- Resolution: 100–150 DPI at full print size
- Bleed added: 0.25"–0.5" on all sides; critical text 1" from edges
- QR code sized at 1.5" minimum; CTA line included; short URL fallback added
- Material and stand type confirmed with vendor
- Proof reviewed and approved before production release
- Shipping date confirmed against show move-in deadline
- Hat product photography and patch art placed consistently with banner palette
Pro Tip: Attach a physical patch sample or a high-res mockup prepared with the Adobe Illustrator Hat Patch Mockup Tool to your print order. Color-matching your patches to your banner at the proof stage prevents costly reprints.
Hatpatchsupply makes banner and patch orders work together
Hat brands that exhibit at trade shows need more than a great banner. They need patches, tags, and booth materials that look like they came from the same production run.
Hatpatchsupply offers fast U.S. production, no-minimum ordering, and integrated mockup tools that let you prepare artwork for both banners and custom UV-printed patches in a single workflow. Upload your print-ready banner file, attach your patch artwork, and both ship together. The Adobe Illustrator Hat Patch Mockup Tool speeds color proofing so your booth visuals stay consistent from the backwall to the hat on the counter. Typical production windows are tight enough to meet most show schedules, and the no-minimum policy means you can order one banner for a regional craft fair or a full set for a multi-show season. Visit Hatpatchsupply.com to upload your files and place a combined banner and patch order today.
Key Takeaways
Effective trade show banner design for hat brands combines a single bold headline in the top two-thirds, printer-ready CMYK files at 100–150 DPI, and a scannable QR code that converts foot traffic into leads.
| Point | Details |
|---|---|
| Headline placement | Keep all critical text in the top two-thirds; booth counters obscure the bottom third. |
| File specs | Supply CMYK, PDF/X-1a or packaged AI, 100–150 DPI at full size, with 0.25"–0.5" bleed. |
| QR lead capture | Size QR codes at 1.5" minimum and link to a short form, demo, or discount for measurable leads. |
| Color consistency | Use Pantone values for brand colors and proof patches against banner art before production. |
| Hatpatchsupply | Offers no-minimum banner and patch ordering with an Illustrator mockup tool for cohesive booth branding. |
What we’ve learned about booth banners for hat brands
Most hat brands underestimate how much a banner’s message hierarchy matters compared to its visual polish. We see it regularly: a beautifully printed banner with a logo front and center and no clear statement of what the brand actually sells. Passersby don’t stop to decode a brand name. They stop when a headline tells them something they want.
The 2026 shift toward interactive banners with QR lead capture is real and worth acting on, but the fundamentals still come first. A QR code on a banner with a weak headline captures nobody. Get the message right, place it correctly, supply a clean file, and then layer in the interactive elements. That sequence matters.
For hat brands specifically, the opportunity is in visual cohesion: when your banner, your patches, and your counter display all share the same color palette and finish quality, the booth reads as a serious brand rather than a vendor table. That perception difference affects how buyers and wholesale accounts engage with you on the floor.
Recommended
Ready to press your own?
Custom UV patches with no minimum, shipped in 72 hours — or grab a free-shipping sample pack first.