


Maker Resources
Banner Wind Slits: What Merch Brands Need to Know

Skip the slits if you can. The short verdict from industry experts at Supply55 and Hollywood Signs & Graphics is consistent: banner wind slits weaken structural fibers, deface graphics, and often void material warranties. Mesh vinyl handles wind pressure across thousands of integrated holes without cutting a single reinforcing fiber, making it the technically superior choice for most outdoor applications. Installation failures, not wind pressure alone, cause most banner damage, and proper mounting addresses that root cause directly.
- Choose mesh first. Mesh vinyl lets air pass evenly without creating isolated weak points.
- Fix the mounting second. Elastic ties, reinforced hems, and additional grommets prevent most wind failures.
- Use slits only when required. If a municipal permit or venue rule mandates them, follow appropriate safe-slit methods.
Table of Contents
- What are banner wind slits, and why do people add them?
- Why industry experts now recommend mesh instead of cutting wind slits
- When wind slits may still be required by U.S. permits
- How to add wind slits safely when a permit requires them
- Better alternatives to slits and installation practices that prevent wind damage
- How material choices affect print quality and durability outdoors
- Quick decision checklist: choose mesh, slits, or reinforced solid vinyl
- How to test your banner installation and maintain it against wind damage
- Key Takeaways
- Why mesh and proper mounting protect your brand investment
- Hatpatchsupply keeps your brand sharp from hat to banner
- Useful sources and further reading
What are banner wind slits, and why do people add them?
Wind slits are half-moon or crescent-shaped cuts made directly into a solid vinyl banner face. The intent is straightforward: create openings so wind passes through the material rather than pushing against it as a solid sail.
The practice became common on large banners hung between buildings, across streets, on road-facing fences, and on building facades where the “sail effect” can put enormous stress on attachment points. On a 3×6-ft solid vinyl banner, wind force at moderate wind speeds can be significant, and that load increases rapidly as wind speed rises. A gust doubling from 30 to 60 mph doesn’t double the load; it quadruples it.
- Common locations: street-crossing banners, fence-mounted event signage, building facades with open wind exposure
- Historic rationale: reduce peak load on grommets and hems to prevent tearing
- Actual effect: modest wind-load reduction, offset by structural weakening at each cut site
The logic sounds reasonable. The execution is where problems start.
Why industry experts now recommend mesh instead of cutting wind slits
Mesh vinyl outperforms solid vinyl with slits in high-wind locations because its thousands of integrated holes distribute airflow evenly across the entire banner face. No single point bears concentrated stress. Wind slits, by contrast, cut through the reinforcing scrim fibers that give vinyl its tensile strength, creating stress risers exactly where the material is now weakest.
Wind slits reduce wind load by only a small amount depending on slit pattern and banner stiffness. To achieve meaningful pressure relief through slits alone, you’d need so many openings the banner becomes illegible. Mesh achieves better airflow without sacrificing a single inch of printable area.
Sign professionals at Supply55 note that slits reduce overall banner lifespan, can start tears rather than prevent them, and commonly void manufacturer warranties. Hollywood Signs & Graphics reinforces the same point: proper installation with quality frames, reinforced hems, and bungee cord attachments distributes stress more effectively than any number of cuts.
For merch brands and hat makers, there’s an additional concern. Wind slits cut through logos, wordmarks, and the kind of detailed graphics you’ve invested in. A slit through your brand mark doesn’t just weaken the banner; it undermines the visual impression you paid to create.
Pro Tip: When wind is the primary concern, specify mesh material at the time of ordering. Post-production modification is always a compromise; specifying the right substrate up front costs nothing extra in planning.
When wind slits may still be required by U.S. permits
Compliance sometimes overrides technical preference. Some U.S. municipalities require wind vents for banners above a certain size, particularly for street-crossing installations or banners on public infrastructure. The commonly cited threshold is around 15 sq ft, though local rules vary significantly.
Before ordering or modifying any banner, confirm the following with your permitting authority or venue manager:
- Required vent area: some jurisdictions specify that a minimum percentage of banner area must be open
- Slit shape and size: half-moon, rectangular, or hinged-flap vents may each be treated differently
- Placement rules: spacing intervals and setback distances from edges
- Grommet requirements: whether rip-stop reinforcement around vents is mandated
- Written approval: get permit sign-off before cutting any finished banner
There is no single standardized spacing requirement across U.S. jurisdictions. Local DOT offices, city sign codes, and venue operators each set their own rules. When a permit requires slits, follow the specified pattern exactly rather than guessing at a configuration.

How to add wind slits safely when a permit requires them
If you have no choice, the goal is to minimize structural damage while meeting the compliance requirement. Follow this sequence:
- Map the banner field. Mark the central 60–70% of the banner face as the slit zone. Keep a strict 2-inch setback from all hems, grommets, and pole pockets. These are structural zones; cutting nearby creates failure points.
- Plan around graphics. Sketch slit positions over a scaled print of the design before touching the material. Avoid cutting through logos, key text, or any design element that carries brand identity.
- Choose rounded vent shapes. Crescent or pill-shaped cuts distribute stress at the ends of each opening. Straight cuts concentrate tearing force at sharp corners.
- Use a staggered grid pattern. Space slits 10–18 inches apart and offset each row so no two slits align vertically or horizontally. Straight rows create a continuous tear lane under load.
- Size slits to the banner. For a 2×6-ft banner, slit length of 1–2 inches is typical. Larger banners (4×8 ft and up) may use slightly longer vents, but more slits at smaller sizes outperform fewer large cuts.
- Reinforce and mount carefully. After cutting, add grommets if the permit requires them, use elastic ties rather than rigid fasteners, and inspect the installation after the first windy day.
Pro Tip: Use a crescent punch or dedicated banner cutter tool for smooth, rounded ends. A utility knife leaves micro-tears at the cut terminus that propagate under repeated wind cycles.
Cutting slits commonly voids material warranties. Get written approval from the printer and the permitting authority before modifying any finished banner.
Better alternatives to slits and installation practices that prevent wind damage
Mesh and reinforced mounting solve the problem slits only partially address.
| Dimension | Mesh vinyl | Solid vinyl with reinforced mounting |
|---|---|---|
| Wind performance | Excellent; airflow distributed across entire face | Good with elastic ties and more attachment points |
| Print integrity | Slightly reduced saturation; legible at distance | Full color fidelity; best for close-up retail |
| Regulatory compliance | Accepted in most jurisdictions; confirm locally | May require slits if permit mandates open area |
| Cost | Higher material cost | Lower material cost; installation hardware adds cost |
| Install complexity | Standard; same hardware as solid vinyl | Moderate; more grommets and elastic ties needed |
| Best use cases | Large facades, festival fields, open-air venues | Retail storefronts, short-term events, framed signage |
Installation best practices that reduce wind damage without cutting:
- Space attachment points every 12–24 inches on large banners rather than relying on corner grommets alone
- Use bungee cords or elastic ties instead of rigid zip ties; they absorb gust energy rather than transferring it to the hem
- Reinforce corners with additional hem tape or corner patches before installation
- Avoid drum-tight tensioning; a small amount of controlled flex reduces peak load at attachment points
- When wind exposure is severe and long-term, consider a framed aluminum extrusion system rather than a hung banner
If the banner size exceeds what a standard hem-and-grommet setup can handle reliably, downsizing the banner or switching to engineered framed signage is a better call than adding slits.
How material choices affect print quality and durability outdoors
The substrate you choose at ordering time determines everything downstream.
- Mesh vinyl (typically 9–10 oz): air passes through thousands of micro-perforations; color saturation is slightly lower than solid vinyl because ink sits on a partially open weave. Legibility at distance remains strong for bold graphics. Not suitable for double-sided printing without a blockout layer.
- 13–18 oz solid vinyl: the standard range for single-sided outdoor banners. Heavier denier scrims add tear resistance and longevity; 13 oz works for short-term events, 18 oz for semi-permanent installations. Full color fidelity and sharp detail reproduction.
- Blockout vinyl: an opaque center layer prevents light bleed on double-sided banners; adds weight and cost but preserves color accuracy on both faces.
For merch brands, the print integrity question connects directly to UV-printed patch quality standards. The same color accuracy and detail fidelity you expect from a hat patch should carry through to your banner graphics. Mesh slightly softens that fidelity; solid vinyl with reinforced mounting preserves it.
Warranty note: many manufacturers void coverage after any post-production cutting. Document the material spec, confirm the warranty terms, and get written approval before modifying.
Quick decision checklist: choose mesh, slits, or reinforced solid vinyl
Work through these questions in order before placing your order or picking up a utility knife.
- What is the banner’s square footage? Over roughly 15 sq ft in a public location, check local permit requirements before proceeding.
- Is the location exposed to sustained wind? Open fields, rooftops, street crossings, and highway-adjacent sites all qualify. If yes, specify mesh at ordering.
- How close will viewers be? Retail storefronts and event booths where people read at arm’s length favor solid vinyl for color fidelity.
- How long will the banner be up? Temporary installs (under two weeks) tolerate more risk; semi-permanent installs demand the most durable substrate and mounting.
- Does the permit or venue require open area? If yes, follow the safe-slit method above and get written approval.
Questions to ask your printer before ordering:
- Does cutting slits void the warranty on this material?
- Can you pre-cut vents before finishing the hems, or must I field-cut?
- What grommet spacing do you recommend for this size and weight?
Decision flow: permit requires slits → safe-slit method with written approval. High and constant wind → mesh vinyl. Close-up retail or brand-sensitive display → reinforced solid vinyl or framed signage.
How to test your banner installation and maintain it against wind damage
A few minutes of inspection after install prevents most catastrophic failures.
- Check after the first windy day. Look for grommet elongation, hem separation, and any slit propagation at cut ends.
- Inspect weekly on long-term installs. Wind fatigue accumulates; a small hem tear doubles in size faster than most people expect.
- Run a low-speed tension test at install. Gradually increase tension on each attachment point and simulate a short gust by pressing the banner face. Weak points reveal themselves before peak winds do.
Field repairs that extend banner life:
- Reinforce elongated grommet holes with grommet repair tape before they tear through
- Apply hem tape along any separation before it reaches a corner
- Patch small slit tears with adhesive banner repair tape; overlap at least one inch on each side
- Replace rather than repair when tears reach a grommet, a hem corner, or a slit end, as those failures propagate rapidly
Key Takeaways
Mesh vinyl and reinforced mounting solve wind problems more effectively than banner wind slits, which typically reduce wind load by a modest percentage—estimates range roughly 6%–15% depending on slit pattern and banner stiffness—while cutting structural fibers and risking warranty voidance.
| Point | Details |
|---|---|
| Choose mesh first | Mesh vinyl distributes airflow across the entire face without weakening structural fibers. |
| Slits are a compliance tool | Use wind slits only when a permit or venue rule requires them; follow the safe-slit method with written approval. |
| Stagger and set back | Keep slits 2 inches from hems and grommets; use a staggered grid across the central 60–70% of the banner. |
| Mounting beats modification | Elastic ties, 12–24-inch grommet spacing, and reinforced corners prevent most wind failures without cutting. |
| Hat Patch Supply for print-critical branding | Hat Patch Supply UV printed patches and banner materials pair with these signage choices to keep brand graphics sharp and consistent. |
Why mesh and proper mounting protect your brand investment
The conventional wisdom that slits are a standard outdoor banner upgrade is worth pushing back on. In practice, the choice to cut slits is almost always regulatory or reactive, not performance-driven. Sign shops and industry pros generally prefer avoiding them because they deface graphics and introduce the very failure points they’re supposed to prevent.
For merch brands and hat makers, the stakes are higher than for a generic event banner. Your logo, colorway, and brand identity are assets. A slit through a wordmark or a tear that starts at a poorly placed vent doesn’t just damage a banner; it damages the impression your brand makes at the exact moment you need it most.
The better path is to specify the right material before production, mount it correctly, and inspect it regularly. Mesh handles wind. Reinforced hems handle stress. Neither requires you to compromise the graphic you spent time and money producing.
Hatpatchsupply keeps your brand sharp from hat to banner
When your signage strategy calls for print-accurate, durable branding, Hatpatchsupply delivers the same UV printing precision on hat patches that you should demand from your banners. Our full-color UV printed hat patches reproduce logos, wordmarks, and detailed graphics with the same color fidelity you want on a solid vinyl banner, and with no minimum order requirements, you can match patch runs to any event or campaign size.
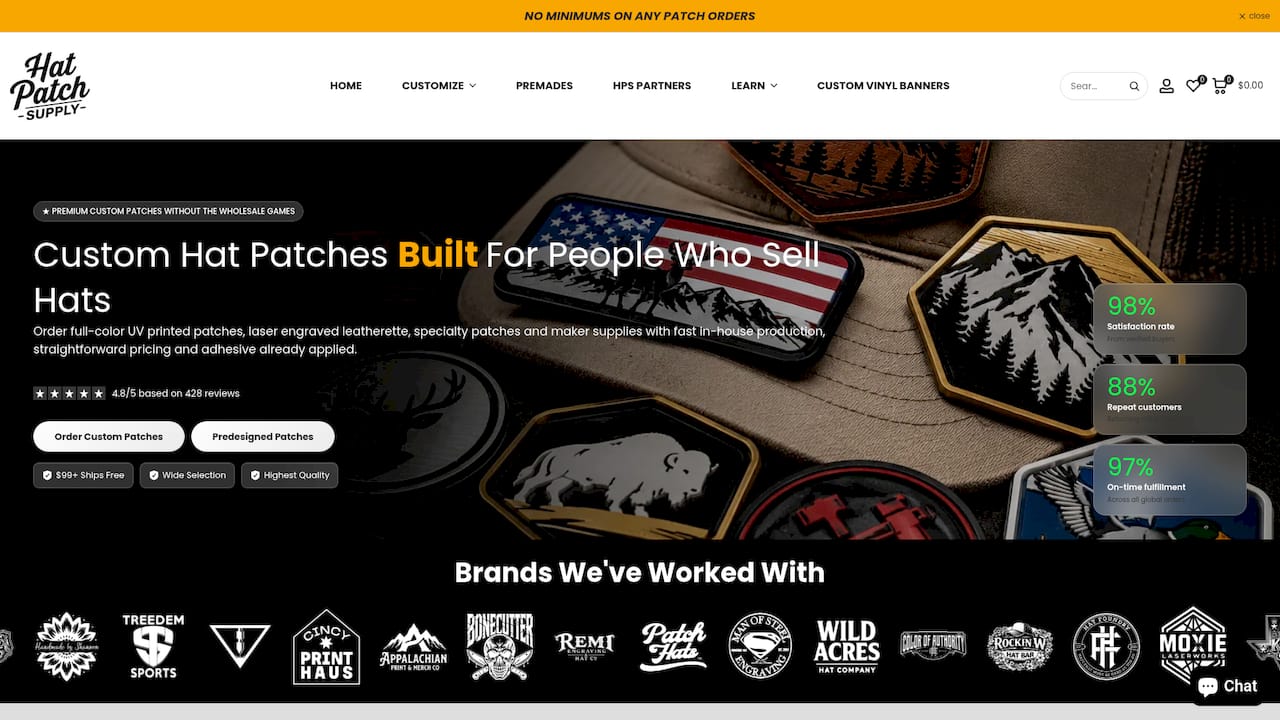
For merch brands building a cohesive visual presence, that consistency across every branded surface matters. Whether you need a single custom patch to test a colorway or a full production run to accompany a banner campaign, Hat Patch Supply fast production and straightforward pricing make it easy to move quickly. Browse our custom UV printed patches or visit hatpatchsupply.com to get started.
Useful sources and further reading
These are the primary references behind the technical guidance in this article.
- Supply55: Wind Slits in Vinyl Banners — Industry sign professionals on warranty voidance, structural weakening, and the 6%–15% wind-load reduction range.
- Hollywood Signs & Graphics: Do Outdoor Banners Need Wind Slits? — Practical guidance on installation as the primary defense against wind damage; reinforced hems and elastic mounting.
- Dynamic Banners and Signs: Mesh vs. Wind Slit Banners — Direct comparison of mesh and slit performance in high-wind environments.
- Dajulong Global: Banner Wind Slits Sizes, Spacing, and Installation — Field heuristics for slit length (1–2 inches), grid spacing (10–18 inches), and the 2-inch setback rule.
- Hightech Signs: Three Ways to Prevent Wind Damage — U.S. municipal permit context and the commonly cited 15 sq ft threshold for vent requirements.
- eSigns: Wind Slits in Vinyl Banners — Reinforces the lack of a single U.S. standard and the importance of consulting local DOT or venue rules before cutting.
- Hatpatchsupply.com — Publisher’s main resource for UV printed patches, banner materials, and production options for merch brands and hat makers.
Recommended
- How to Start a Hat Bar: Equipment, Patches, and What Actually Sells – Hat Patch Supply
- Hat Patch Supply - The Brand Behind Thousands Of Patches
- Hat Patch University | Custom Hat Business Tips, Guides & Tutorials – Hat Patch Supply
- Maker Resources | Free Downloads for Custom Hat Businesses – Hat Patch Supply
Ready to press your own?
Custom UV patches with no minimum, shipped in 72 hours — or grab a free-shipping sample pack first.