


Hat Patch University
15 Hat Patch Design Ideas for Makers and Small Brands

The most production-ready hat patch design ideas share one quality: they read clearly at a small wearable size suitable for hat patches. Text-forward wordmarks, single-icon silhouettes, two-letter monograms, regional outlines, and high-contrast logos all pass that test reliably. Before you finalize any artwork, pick your patch material, run a stamped/one-color readability check at actual size, and request a physical or photo proof from your supplier.
Here’s where to start:
- Choose your material first. Laser-engraved leatherette suits heritage single-color marks; UV-printed leatherette handles full-color art; embroidered patches add texture; PVC and acrylic work for bold 3D shapes.
- Run the stamped test. Print your art at 1:1 scale in solid black on white paper. If any element disappears or blurs, simplify it before sending files.
- Request a proof before full production. A photo proof on the actual hat catches sizing and color issues that a screen mockup misses.
- Use Hatpatchsupply’s patch shape templates to mock up your design at the correct dimensions before ordering.
Table of Contents
- What are the best hat patch design ideas right now?
- Which patch material is right for your design?
- Which hat styles work best with each patch type?
- What design rules keep hat patches readable at small sizes?
- What design mistakes cause patches to fail in production?
- What file specs does a patch supplier need from you?
- What do custom hat patches cost, and how long do they take?
- How do you mockup and attach a hat patch correctly?
- Why do simple, high-contrast designs outperform complex artwork on hat patches?
- Quick creative briefs you can copy into a supplier order form
- Key Takeaways
- What I watch for when a patch design actually sells
- Hatpatchsupply makes it straightforward to go from idea to finished patch
- Useful sources and tools for your next patch order
What are the best hat patch design ideas right now?
Several ideas below are grouped by style and written as ready-to-order briefs. Each one includes a suggested material, a hat pairing, and a note on what to avoid.
-
Curved wordmark + small icon above. The brand name arches along the top of a circular patch with a single icon centered below. Reads well at 2.5 inches on a trucker front. Best in laser-engraved leatherette. Avoid: more than two lines of text or a detailed icon with interior lines.
-
Two-letter monogram, bold serif. Two initials set in a heavy serif or slab font, optionally enclosed in a thin border. Works on dad hats and snapbacks at 1.5–2 inches. Best in laser-engraved top-grain leather. Avoid: script fonts with thin connecting strokes that blur under engraving.
-
State outline with wordmark inside. A clean state silhouette filled with a brand name in a bold sans-serif. Pairs well with trucker or snapback fronts at 2–2.5 inches wide. Best in UV-printed leatherette for color fills, or laser-engraved for a single-tone look. Avoid: states with complex coastlines or thin peninsulas that collapse at small sizes.
-
Arched brand name + “Est. [year]” below. Classic heritage layout: brand name arches across the top, a thin rule divides it from the founding year at the bottom. Works on any hat style at 2–3 inches. Best in laser-engraved leatherette. Avoid: decorative flourishes between the text lines that become noise at patch scale.
-
Compass rose, simplified. An eight-point or four-point compass with cardinal letters, no fine interior detail. Strong on outdoor and adventure brands. Pairs with trucker or rope-front hats at 2 inches. Best in PVC for a raised 3D look, or UV print for color. Avoid: intricate filigree in the center medallion.
-
Mountain silhouette + wordmark below. A single-ridge mountain outline with the brand name set beneath in a bold condensed font. Outdoor and lifestyle brands use this constantly because it scales down without losing shape. Best in laser-engraved leatherette or embroidered on a dad hat. Avoid: multiple peaks with fine gap lines between them.
-
Single-tree silhouette. One bold tree outline, no interior branch detail. Works as a standalone icon or paired with a wordmark. Best on dad hats at 1.5–2 inches in laser-engraved leatherette. Avoid: realistic bark texture or thin branch tips that disappear under engraving.
-
Single wildlife silhouette. A solid animal outline, bear, elk, trout, or bison, with no interior detail. Strong for outdoor, hunting, and fishing brands. Best in UV-printed leatherette for a clean color fill, or laser-engraved for a heritage tone. Avoid: realistic fur or feather texture; keep the outline bold and closed.
-
Industry-specific silhouette + brand name. A single tool, vessel, or object that signals the brand’s trade: a hop cone for a brewery, a paddle for a kayak company, a coffee dripper for a roaster. Pairs with a wordmark in a second line. Best in UV-printed leatherette at 2.5 inches on a trucker front. Avoid: multiple objects in the same patch; one icon reads; three do not.
-
Coffee bean + roaster wordmark. A top-down coffee bean outline above a two-word brand name. Clean, recognizable, and works well on structured caps and dad hats at 2 inches. Best in laser-engraved leatherette for a warm, tactile feel. Avoid: shading inside the bean or a thin center crease line.
-
Cattle-brand style monogram. One or two letters styled after a ranch brand, with thick strokes and a slightly rough edge. Suits western, agricultural, and heritage lifestyle brands. Best in laser-engraved leatherette at 1.5–2 inches on a dad hat or rope-front. Avoid: thin serifs or hairline crossbars that disappear under the laser.
-
Single equipment icon for trades. A wrench, trowel, circuit board, or similar tool silhouette, bold and simplified. Works for contractor, electrical, or maker brands. Best in PVC for a durable, raised look on a snapback. Avoid: realistic perspective or fine mechanical detail that collapses at 2 inches.
-
Geographic coordinates. Two lines of text: latitude on top, longitude below, set in a clean monospaced or condensed font. Minimal, modern, and highly personal. Best in laser-engraved leatherette at 2.5 inches wide on a dad hat. Avoid: decimal precision beyond two places, which makes the text too small to read.
-
Two-line tagline below a single icon. A bold icon centered at the top, with a short tagline in two lines beneath it. Works when the tagline is six words or fewer per line. Best in UV-printed leatherette for contrast and color. Avoid: three or more lines of copy, which forces font sizes below readable thresholds.
-
Circle-enclosed two-letter monogram. Two initials inside a clean circle border, with optional thin inner ring. A versatile submark that works as a side patch or a back-of-hat tag. Best in acrylic for a premium layered look, or laser-engraved leatherette for a heritage feel. Best on snapbacks and structured caps at 1.5 inches. Avoid: a double-ring border with text running along the outer ring at this size.
Which patch material is right for your design?
Matching material to design type is the single decision that most affects whether your patch looks intentional or amateurish. Each finish has a production ceiling, and knowing it before you finalize artwork saves you a proof cycle.
Laser-engraved leatherette is the workhorse for heritage and single-color marks. The laser burns away the surface to reveal a contrasting layer beneath, so the design must be single-weight, high-contrast, and free of gradients. Hatpatchsupply’s laser-engraved leatherette patches are built around this principle: bold, single-weight art produces the cleanest deboss results. Thin strokes and fine serifs blur or disappear entirely.
Top-grain laser-engraved leather raises the premium level. The natural grain adds texture and warmth that leatherette cannot replicate. Best for two-letter monograms, wordmarks, and simple silhouettes on retail-grade hats. Top-grain engraved patches require the same single-weight artwork rules as leatherette, with the added benefit of a more tactile, upscale finish.
UV-printed leatherette handles what engraving cannot: full-color art, photographic patterns, and multi-tone gradients. Hatpatchsupply’s UV-printed patches reproduce vibrant artwork with outdoor durability, making them the right call for complex brand art that would lose its meaning in a single-color deboss. The tradeoff is that the surface reads as printed rather than tactile.
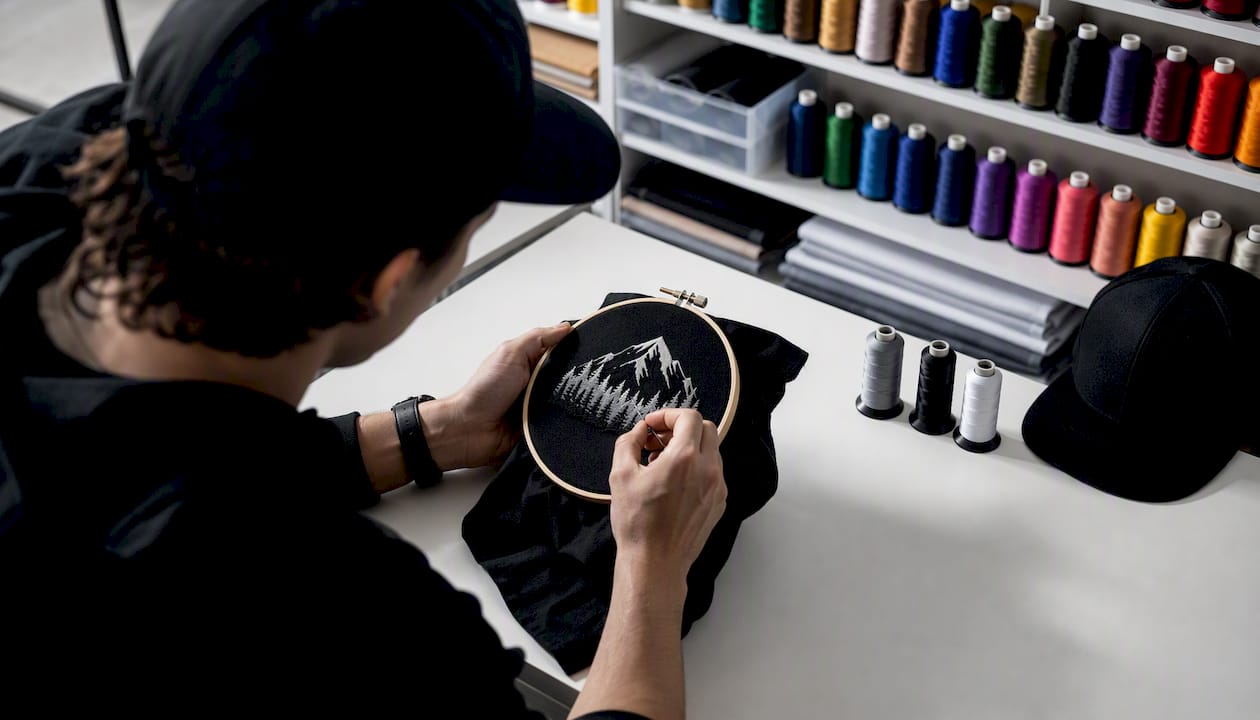
Embroidered patches add thread texture and a handcrafted feel. They work well for bold shapes, block letters, and simple icons where the raised thread adds dimension. Fine detail is limited by thread count; anything thinner than about 1/16 inch tends to lose definition. For finishing and attachment guidance on embroidered options, the Flossom embroidery finishing methods guide covers edge treatments and backing choices in practical detail.
PVC patches are molded rubber, bold, and weather-resistant. They suit 3D shapes, raised logos, and designs with strong color blocking. Fine interior lines do not reproduce well in PVC molds; keep shapes simple and strokes thick.
Acrylic patches (dual- and tri-layer) offer a rigid, layered badge look with depth and color separation. Tri-layer acrylic patches are a strong choice for retail-quality headwear where the patch needs to read as a premium badge. Plan for edge treatment and thickness when applying to curved hat fronts; discuss die-line finishing with your supplier before ordering.
Quick selection checklist:
- Heritage / single-color mark → laser-engraved leatherette or top-grain leather
- Full-color / complex art → UV-printed leatherette
- Texture and dimension → embroidered
- Bold 3D shapes → PVC
- Premium layered badge → acrylic
- Adhesive-backed for prototyping → pre-cut UV-printed leatherette stickers
Pro Tip: Match your patch finish to the hat fabric color, not just the design. A natural tan leatherette patch on a black hat creates strong contrast that reads well at a distance; the same patch on a tan hat disappears. Test the combination in your mockup before committing to a material.
Which hat styles work best with each patch type?
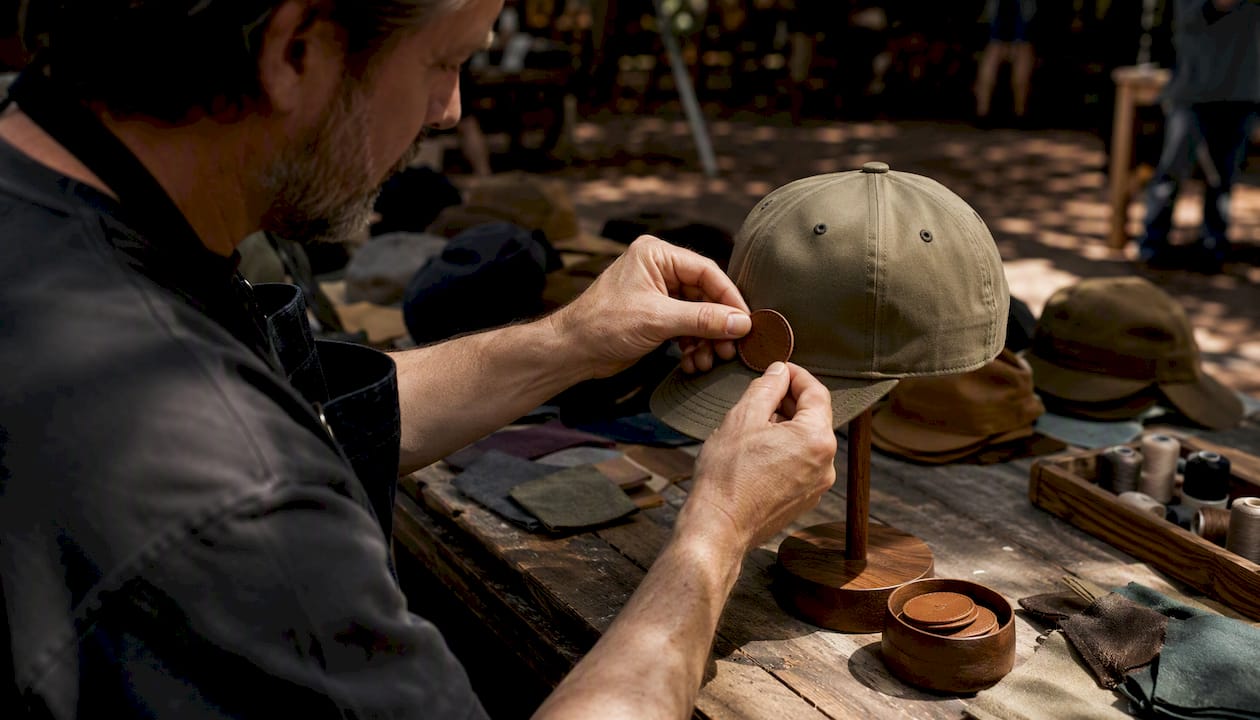
Hat style and patch placement vary depending on crown height, fabric stiffness, and front-panel shape, affecting patch fit and readability. Trucker hats hold larger flat patches, dad hats suit smaller patches, snapbacks accommodate bold graphic patches, and rope-front hats work well with rectangular heritage patches. Placement size should be matched suitably to hat style to ensure patch legibility and fit.
Small submark patches on the side panel work well as a secondary brand touchpoint, especially when the front carries a wordmark. Interior branding tags are a separate product category entirely and serve a different function: they brand the inside of the hat for wholesale or retail presentation rather than the exterior.
What design rules keep hat patches readable at small sizes?
Small surfaces punish complexity. A design that looks polished at 8 inches on screen can become an unreadable smudge at 2 inches on a hat. These rules apply across every material and production method.
The core rules:
- Use single-weight strokes or solid fills. Varying stroke weights create thin areas that blur or disappear under engraving and stitching.
- Avoid gradients on any material that uses mechanical reproduction (laser, deboss, embroidery). Gradients require UV printing to survive.
- Prefer bold geometric shapes and simplified silhouettes over realistic illustrations.
- Keep typography to one or two fonts, maximum. A headline font and a secondary font is the limit.
- Maintain a minimum safe margin of 1/8 inch between the artwork edge and the patch border.
Do vs. Don’t comparison:
| Design Element | Do | Don’t |
|---|---|---|
| Typography | Bold sans-serif or slab serif, small cap height | Hairline serifs, script fonts with thin strokes |
| Stroke weight | Minimum 1.5 pt at 1:1 scale | Strokes thinner than 1 pt at final size |
| Color | High-contrast two-color or solid fill | Low-contrast color pairs, gradients on engraved/embroidered |
| Icon complexity | Single closed silhouette, no interior detail | Realistic illustrations with interior lines |
| Text lines | Two lines maximum at 2 inches wide | Three or more lines at small sizes |
| Borders | Single clean border, 1.5 pt minimum | Double thin borders that merge under production |
Pro Tip: Print your artwork at 1:1 scale on plain paper and photograph it from 3 feet away. If you can read every element in the photo, the design is production-ready. If anything blurs or disappears, simplify before sending files to your supplier.
What design mistakes cause patches to fail in production?
Most failed proofs trace back to the same handful of errors. Catching them before you submit artwork saves time, money, and a full proof cycle.
- Hairline serifs and thin-stroke logos. Any stroke thinner than 1 pt at final size will blur under laser engraving and disappear in embroidery. Fix: convert to a bold or medium weight, or switch to a sans-serif.
- Multi-line taglines at small sizes. Three or more lines of text at 2 inches wide forces font sizes below readable thresholds. Fix: cut to one strong line, or move the tagline to a larger patch format.
- Photo gradients on leather or embroidered patches. Gradients require UV printing. On laser-engraved or embroidered surfaces, they produce muddy mid-tones. Fix: convert to a two-tone or solid-fill version, or switch to UV-printed leatherette.
- Overly intricate mascots. A detailed mascot with realistic shading, fine fur texture, and small facial features will lose most of its detail at 2–3 inches. Fix: reduce to a bold silhouette with one or two defining features.
- Low-contrast color combinations. A navy logo on a dark brown patch reads as a single dark shape. Fix: increase contrast between the artwork and the patch background, or choose a lighter patch color.
The one-sentence rule: if you cannot read every element of your design when it is printed in solid black at 1:1 scale, the design needs simplification before it goes to production.
What file specs does a patch supplier need from you?
Submitting the right files the first time eliminates the most common source of production delays. These specs apply across laser-engraved, UV-printed, and embroidered patch orders.
Recommended patch sizes by use:
| Patch Type | Width × Height | Best Use |
|---|---|---|
| Trucker front (standard) | 2.5–3 in × 1.75–2 in | Primary brand patch, wordmark + icon |
| Dad hat front | 1.75–2.5 in × 1.25–1.5 in | Wordmarks, monograms, small silhouettes |
| Side tag | 1–1.5 in × 1 in | Submarks, monograms, secondary logos |
| Snapback front | 2–3 in × 1.5–2 in | Bold graphics, PVC medallions, acrylic badges |
| Interior branding tag | 1.5–2 in × 1 in | Brand tags, care labels, wholesale presentation |
File format checklist:
- Vector files preferred: EPS, AI, PDF, or SVG with all fonts outlined
- High-resolution raster (for UV print): 300 DPI minimum at 1:1 final size, PNG or TIFF
- Color mode: CMYK for UV-printed patches; single-color or grayscale for laser-engraved
- Pantone (PMS) color callouts where exact color matching is required
- Include a 1:1 scale PDF or PNG mockup alongside the working file
Artwork preparation checklist:
- Outline all fonts before saving the final vector file
- Flatten layers for UV-printed artwork; keep spot-color layers separate for engraved work
- Include a 1/8-inch safe margin inside the patch border
- Label the file with patch size, material, and color mode in the filename
- Use the Adobe Illustrator mockup tool from Hatpatchsupply to place your art on a hat template at 1:1 scale before submitting
Hatpatchsupply’s product pages consistently recommend vector artwork and 1:1 scale files for clean production results, and that guidance holds across every material they offer.
What do custom hat patches cost, and how long do they take?
Cost and lead time both depend on the same variables: material, complexity, quantity, and attachment method. Here is a practical breakdown.
What drives price:
- Material. Laser-engraved leatherette and UV-printed leatherette are typically the most accessible entry points for small runs. Acrylic and top-grain leather carry a higher per-unit cost due to material and finishing.
- Patch complexity. Custom die-cut shapes, multi-layer acrylic, and PVC molds add tooling costs that are amortized across the order. Simple rectangular or oval patches avoid custom die fees.
- Attachment method. Adhesive backing is often included or minimally priced. Heat-press and sew-on options may add a small per-unit cost depending on the supplier.
- Order quantity. Per-unit cost drops with volume. Hatpatchsupply offers no-minimum ordering, which means single-unit proofs and small-batch runs are viable without a large upfront commitment.
- Rush production. Expedited turnarounds typically carry a fee; plan for standard lead times when possible.
Typical lead times:
- Single-unit proof or prototype: often 2–5 business days depending on material and supplier queue
- Small-batch run (under 50 units): typically 5–10 business days after proof approval
- Wholesale or large-run orders: 10–20 business days; confirm with your supplier at the time of order
Proof cycle: most suppliers send a digital proof first, then a physical or photo proof on request. Budget one to two rounds of revisions into your timeline. Providing a clean 1:1 vector file and a clear brief reduces revision cycles significantly.
How do you mockup and attach a hat patch correctly?
Getting the mockup right before production and choosing the correct backing for your hat type are two decisions that affect both the approval process and the long-term durability of the finished product.
Mockup best practices:
- Use Hatpatchsupply’s Illustrator mockup tool to place your artwork on a hat template at exact 1:1 dimensions. This catches sizing errors that are invisible on a standard screen preview.
- When reviewing a digital proof, check the patch at the same viewing distance you would use to look at a hat on a shelf, roughly 18–24 inches. Elements that look fine at 100% zoom on a monitor can disappear at that distance.
- Request a photo proof on the actual hat style before approving a full run. A proof photo on the correct hat color and fabric confirms contrast and placement in a way no digital mockup can.
Attachment method comparison:
| Backing Type | Durability | Washability | Best For |
|---|---|---|---|
| Sew-on | Highest | Excellent | Retail hats, workwear, long-term wear |
| Heat-press / iron-on | High | Good (follow care instructions) | Structured caps, promotional hats |
| Adhesive (pressure-sensitive) | Moderate | Low | Prototyping, promotional events, short-term use |
| Velcro | Moderate | Good | Tactical hats, interchangeable patch systems |
Adhesive-backed pre-cut leatherette patches are well-suited for prototyping and low-durability placements like promotional event hats, but sew-on or heat-bond backings are the right choice for retail-grade durability and wash resistance. For finishing and attachment guidance, the Flossom embroidery finishing methods guide covers edge treatments and backing options in practical detail.
Mockup checklist:
- Confirm patch dimensions match the hat panel size at 1:1 scale
- Specify backing type in your order notes
- Request a photo proof on the actual hat if ordering more than a single prototype
- Confirm placement coordinates (center-front, side, back) with the supplier before production approval
Why do simple, high-contrast designs outperform complex artwork on hat patches?
The answer comes directly from how patches are made. Laser engraving burns away material; embroidery builds shapes from thread; debossing presses a die into leather. All three methods share one constraint: they cannot reproduce fine gradients, hairline strokes, or photographic detail at 2–3 inches. A design that relies on those elements will lose its meaning in production.
Single-weight, high-contrast marks are the most reliable artwork across laser engraving, leather debossing, and embroidery. When we review artwork before production, the first check is always the stamped test: print the design in solid black at 1:1 scale. If every element is still readable, the art is ready. If anything disappears, it will disappear in production too.
Hatpatchsupply’s production guidance for laser-engraved leatherette patches reinforces this directly: bold, single-weight art produces the cleanest engraving results, and submitting vector art with a 1:1 legibility check prevents the most common production failures.
For UV-printed patches, the rules relax considerably. UV printing on leatherette reproduces rich color and fine patterns with outdoor durability, making it the right material for complex brand art that would not survive a single-color deboss. The Troutscape UV-printed patch is a practical example: a detailed fish and water pattern that would be unreadable in laser engraving reproduces cleanly in UV print.
Pro Tip: When submitting files for any production method, send both the vector source file and a 1:1 scale PNG or PDF proof, and request a sample photo on the actual hat before approving the full run. This three-step submission reduces remakes and speeds approval for small-batch orders.
Quick creative briefs you can copy into a supplier order form
These briefs are written to be pasted directly into a supplier order or design brief. Each one specifies the artwork, material, size, hat pairing, and a production note.
- UV-printed pattern patch: — Repeating fly-fishing or floral pattern with brand name centered in a bold sans-serif. UV-printed leatherette patch sized suitably for trucker fronts. Submit flattened CMYK file; confirm pattern scale at 1:1 before production.
Key Takeaways
The most reliable hat patch designs are single-weight, high-contrast marks that pass a 1:1 stamped readability test before any file goes to a supplier.
| Point | Details |
|---|---|
| Choose material before finalizing art | Laser-engraved leatherette suits single-color marks; UV-printed leatherette handles full-color and gradient art. |
| Run the stamped test at 1:1 scale | Print your design in solid black at final size; any element that disappears will fail in production. |
| Match patch size to hat style | Trucker fronts hold up to 3 inches wide; dad hats work best at 1.5–2.5 inches to prevent edge curl. |
| Submit vector files with outlined fonts | EPS, AI, PDF, or SVG at 1:1 scale with a 1/8-inch safe margin reduces proof cycles and remakes. |
| Hatpatchsupply for no-minimum orders | Hatpatchsupply offers UV-printed, laser-engraved, acrylic, and PVC patches with no minimum order requirement and adhesive-backed options for quick prototyping. |
What I watch for when a patch design actually sells
Most people treat hat patches as a branding exercise. The designers who get repeat orders treat them as a merchandising decision. There is a real difference between those two frames.
A patch that reads well at arm’s length, communicates the brand in under two seconds, and feels like it belongs on that specific hat style will move product. A patch that required three rounds of revisions to get the fine detail to survive production will not. The design choices that make a patch production-safe, bold silhouettes, high contrast, minimal text, are the same choices that make it legible on a retail shelf or in a social media photo.
One thing I see consistently: brands that test their patch on the actual hat before approving a full run catch problems that no digital mockup reveals. A patch that looks perfectly centered on a flat template can sit awkwardly on a curved, unstructured front. A color that reads as warm tan on screen can read as yellow-green under retail lighting. Requesting a sample photo on the real hat is not a luxury step; it is the step that separates a clean first run from an expensive remake.
The other thing worth saying plainly: a simpler patch often commands higher perceived value than a complex one. A two-letter monogram laser-engraved into top-grain leather reads as premium. A busy mascot with gradient shading and four lines of text reads as rushed, regardless of how much time went into the artwork. Restraint is the design choice that ages best on a hat.
Hatpatchsupply makes it straightforward to go from idea to finished patch
No minimums, fast production, and a material lineup that covers every design style in this article. That combination is what makes Hatpatchsupply a practical production partner for small brands and individual makers who cannot afford to lock up capital in a 500-unit minimum order.
The full material range includes custom UV-printed full-color patches, laser-engraved leatherette, tri-layer acrylic badges, PVC options, and adhesive-backed patches for quick proofs and promotional runs. The Adobe Illustrator mockup tool lets you place your artwork on a hat template at 1:1 scale before you commit to an order, and the patch shape templates and design guide walk you through dimensions and artwork prep from the start. When you are ready, browse the full catalog at Hatpatchsupply.com and submit your artwork directly for a proof.
Useful sources and tools for your next patch order
- Hat Patch Making Made Simple: 7 Powerful Tips — Hatpatchsupply’s design guide with downloadable patch shape templates, sizing recommendations, and artwork prep tips. Start here if you are choosing dimensions or preparing files for the first time.
- Adobe Illustrator Hat Patch Mockup Tool — Place your artwork on a hat template at 1:1 scale before ordering. Reduces sizing errors and speeds proof approval.
- Custom UV-Printed Hat Patches — Hatpatchsupply’s primary product page for full-color UV patches. Includes production notes, material specs, and finished examples.
- Laser-Engraved Leatherette Patches — Product page with engraving specs, artwork guidelines, and heritage-style examples.
- Flossom Embroidery Finishing Methods Guide — Practical reference for embroidery edge treatments, backing options, and finishing methods. Useful when choosing between sew-on, heat-press, and adhesive backings for embroidered patches.
Recommended
- Hat Patch Making Made Simple: 7 Powerful Tips to Create Custom Hats That Stand Out - Hat Patch Supply by Hat Foundry
- 66+ Hat Patch Shapes You’ll Actually Use - Hat Patch Supply by Hat Foundry
- Hat Patch Supply - The Brand Behind Thousands Of Patches
- AR15 Second Amendment Full Color UV Printed Patch - Buy Now – Hat Patch Supply
Ready to press your own?
Custom UV patches with no minimum, shipped in 72 hours — or grab a free-shipping sample pack first.